Search Knowledge Base by Keyword
Getting Started
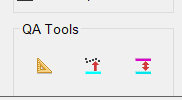
This section will cover the various QA tools inside of Verity. The buttons in the QA Tools panel will let you review, adjust, and approve the results for each item in Verity.
Measure Distance Tool
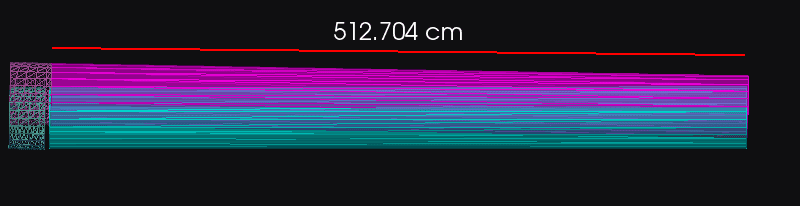
The Measure tool will allow you to measure the distance between two click-points. The measure tool does not snap to points or geometry and should be used to establish scale (understand the size of elements in Verity, or the distance between elements, points, or geometry in the plane of the view. This is why the tool only works when the split pane is activated, and only in the projected views.
Measure Scan Point Distance from As-Built Surface Tool
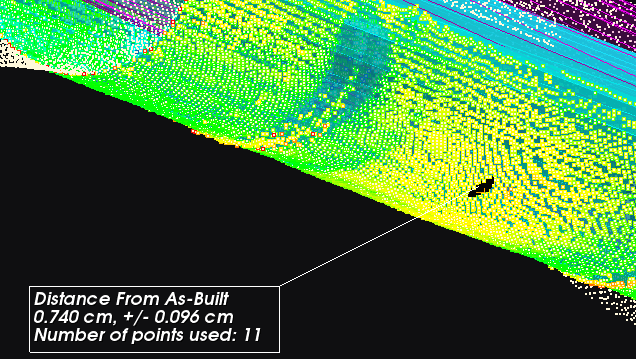
Located in the center of the three, the Measure Scan Point Distance tool will allow you to click a point on the As-Built geometry and measure the distance from that point, to the points used to fit the As-Built geometry to the point cloud. The tool provides a spot measurement that is repeatable and does not rely on a single point as the basis of measurement. Error ranges and number of points used are provided to show the variance within the point data at that location. When active, this mode will highlight the As-Built geometry. The cursor will change to a crosshair when hovering over the As-Built geometry for picking a measurement point.
Measure As-Designed Geometry Distance from As-Built Surface Tool
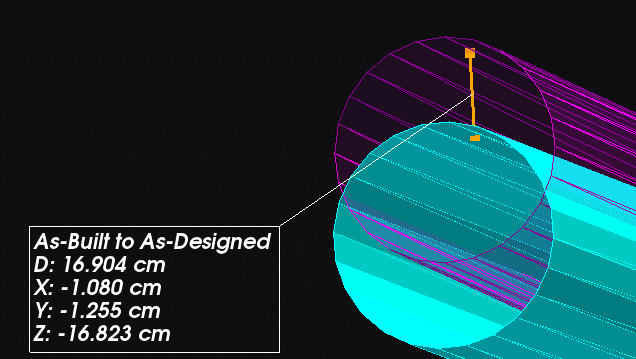
The Measure As-Designed Geometry Distance from As-Built Surface tool will take a click point on the As-Built surface and measure the distance from that point to the same point on the As-Designed. This provides a spot-measurement tool between the two identical geometries. The tool reports the linear distance as well as the X, Y, and Z components in project coordinates. When active, this mode will highlight the As-Built geometry, and the cursor will change to a crosshair for picking a measurement point.
User-Defined Table Fields
Verity also has several fields in the Item Table that you can fill out with whatever additional information you would like to include in the report:
- Action Required – this field provides a place to note any next steps or actions that need to occur to come to a resolution about the item. Usually, this field populated with things like “Fix in the field” or “Update as-built drawings” or the names of people to get involved.
- Notes – as the name suggests, this field is for a user to write down any additional notes about the item.
Tracking Progress
There are also two fields designed to help you keep track of which items you have reviewed and which you haven’t:
- Reviewer – This lets you type in a name, initials, or anything else you might desire to indicate who has looked at the results and decided they’re sufficient to generate reports from.
- Review Status – This lets you designate one of three pre-defined statuses for each item:
- Not Reviewed
- Under Review
- Reviewed
While you can fill out or edit each of these fields manually, Verity also has a review workflow to fill both fields simultaneously.
Accepting Current Status
The Accept Current Status button places your name, initials, or whatever you’ve typed into the Active Reviewer field into the Reviewer field and also changes the Review Status to Reviewed.
If you haven’t filled out the Active Reviewer in the toolbar, a dialog will appear prompting you to type in the reviewer for that session. This will then populate the Active Reviewer field in the menu bar with whatever you type. The information in the Active Reviewer field will then be used from them on for that project.
If you wish to change active reviewers mid-session or for the project, just change the text in the “Active Reviewer” field. You can always manually change the Reviewer field later by editing it in the table directly.