Import a map
The next step is to import a .MAP file into the Verity Photo iOS app. MAP files are 2D floorplan maps that people can use to tag Verity Photo notes with location information.
We already exported a MAP file in Step 1 (if you haven’t done this already, read about how to do this here), now you need to transfer that file to your iOS phone or tablet so that Verity Photo has access to it. There are a ton of ways to transfer files to iOS devices, but here we’ll look at using a cloud service like Box.com to transfer the file
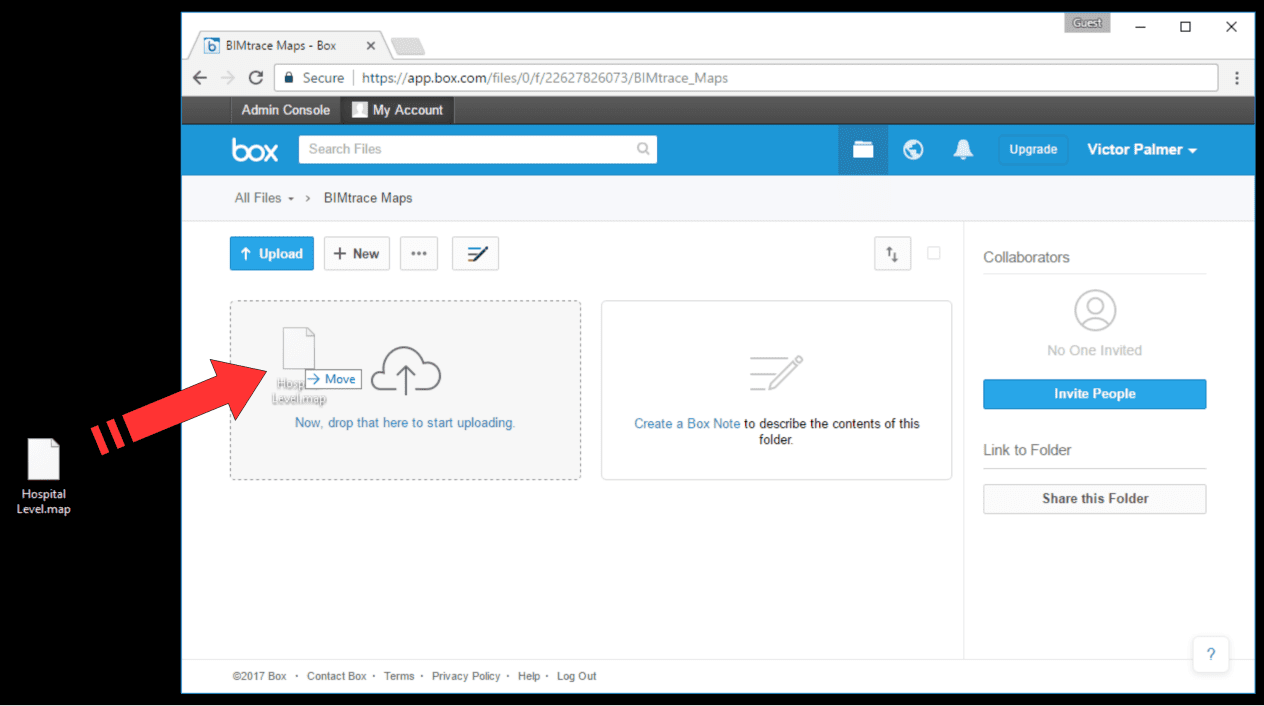
First, on our computer where we exported the MAP file, we’ll open up a browser, log into Box.com, and drag and drop the MAP file from the desktop to the Box drive:

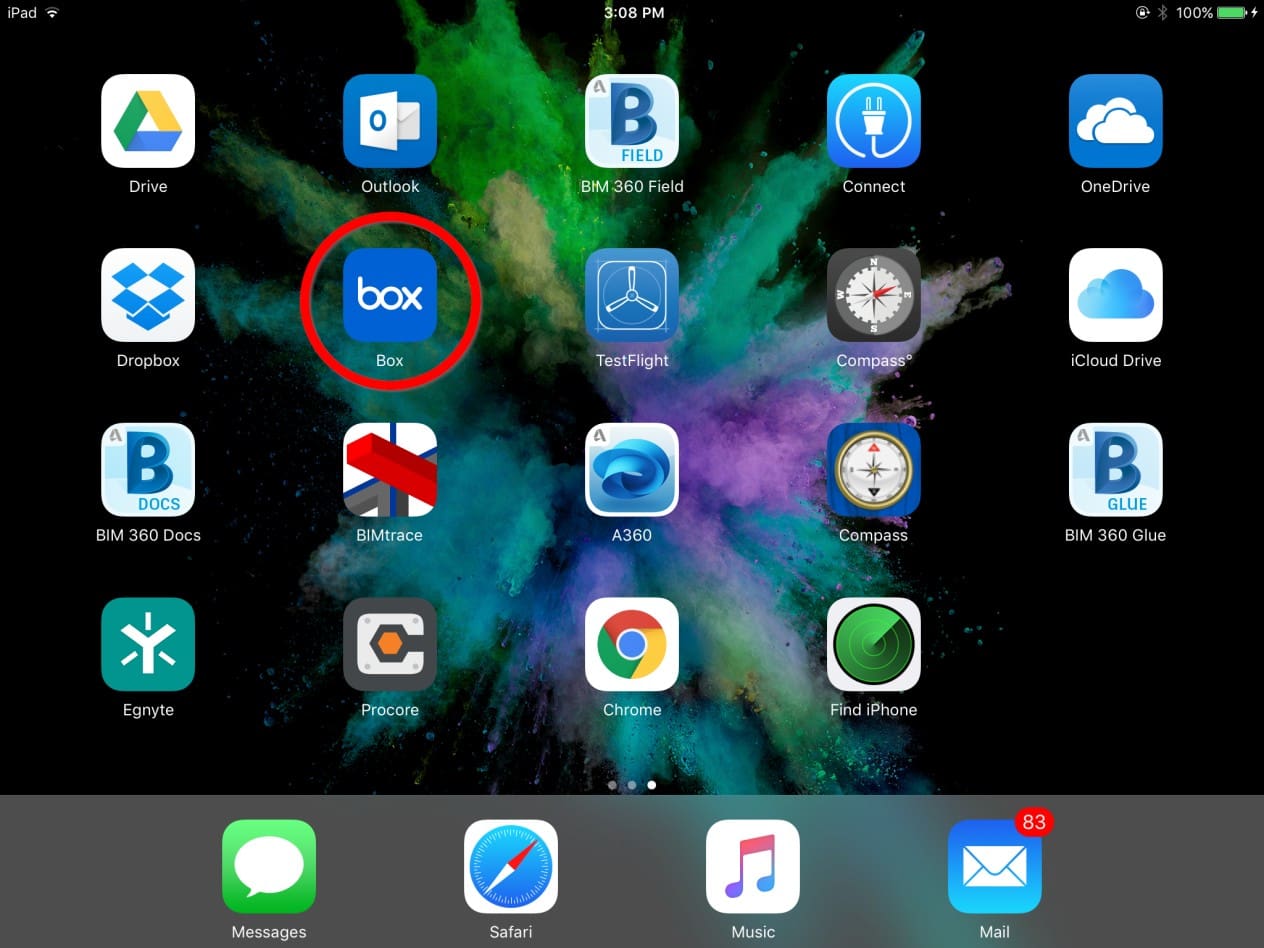
Now let’s go to our iPad … we’ll go ahead and launch the Box iOS app:
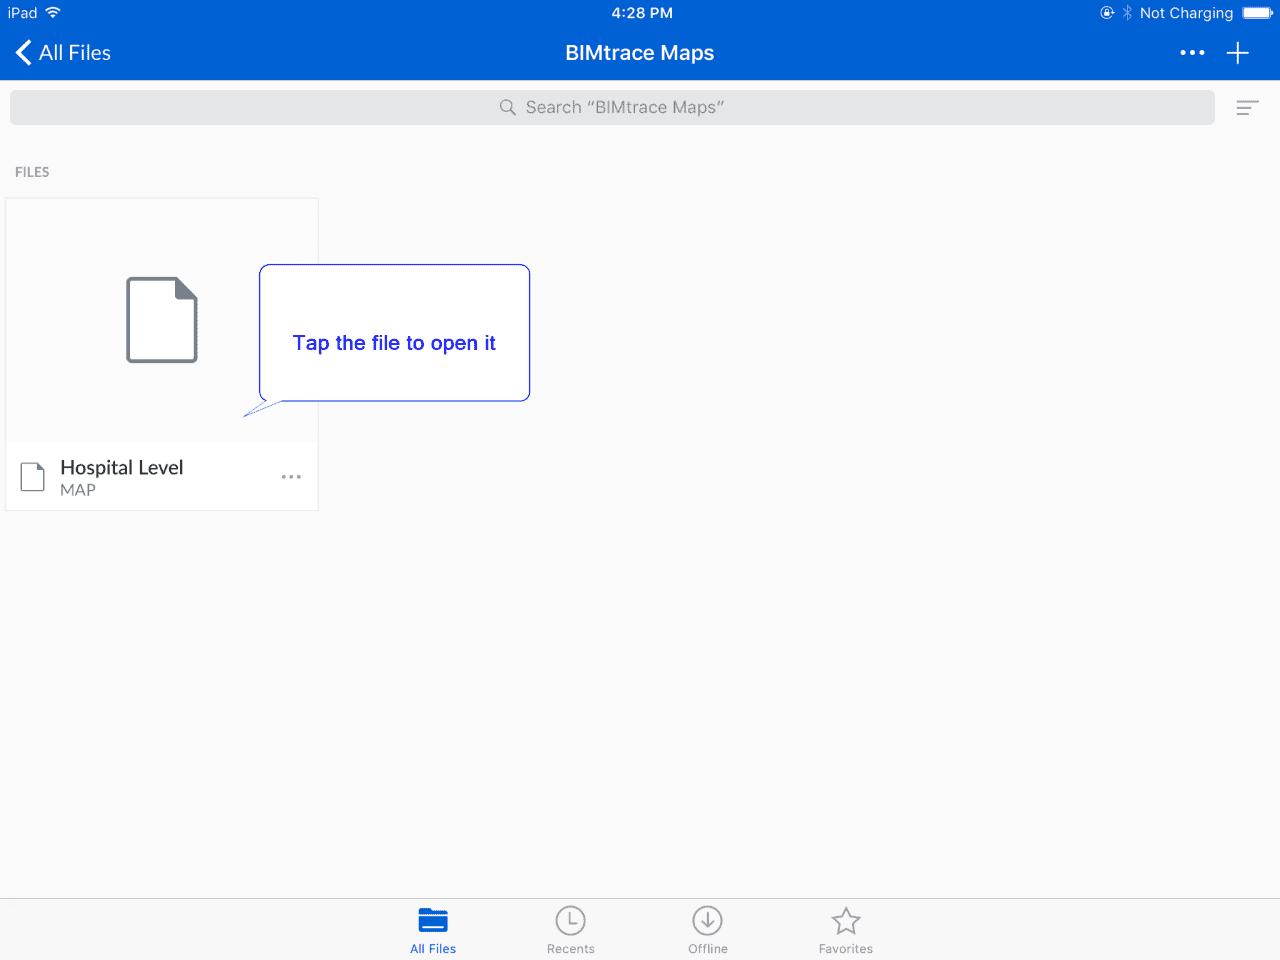
And we should see the MAP file we just uploaded … now lets open it
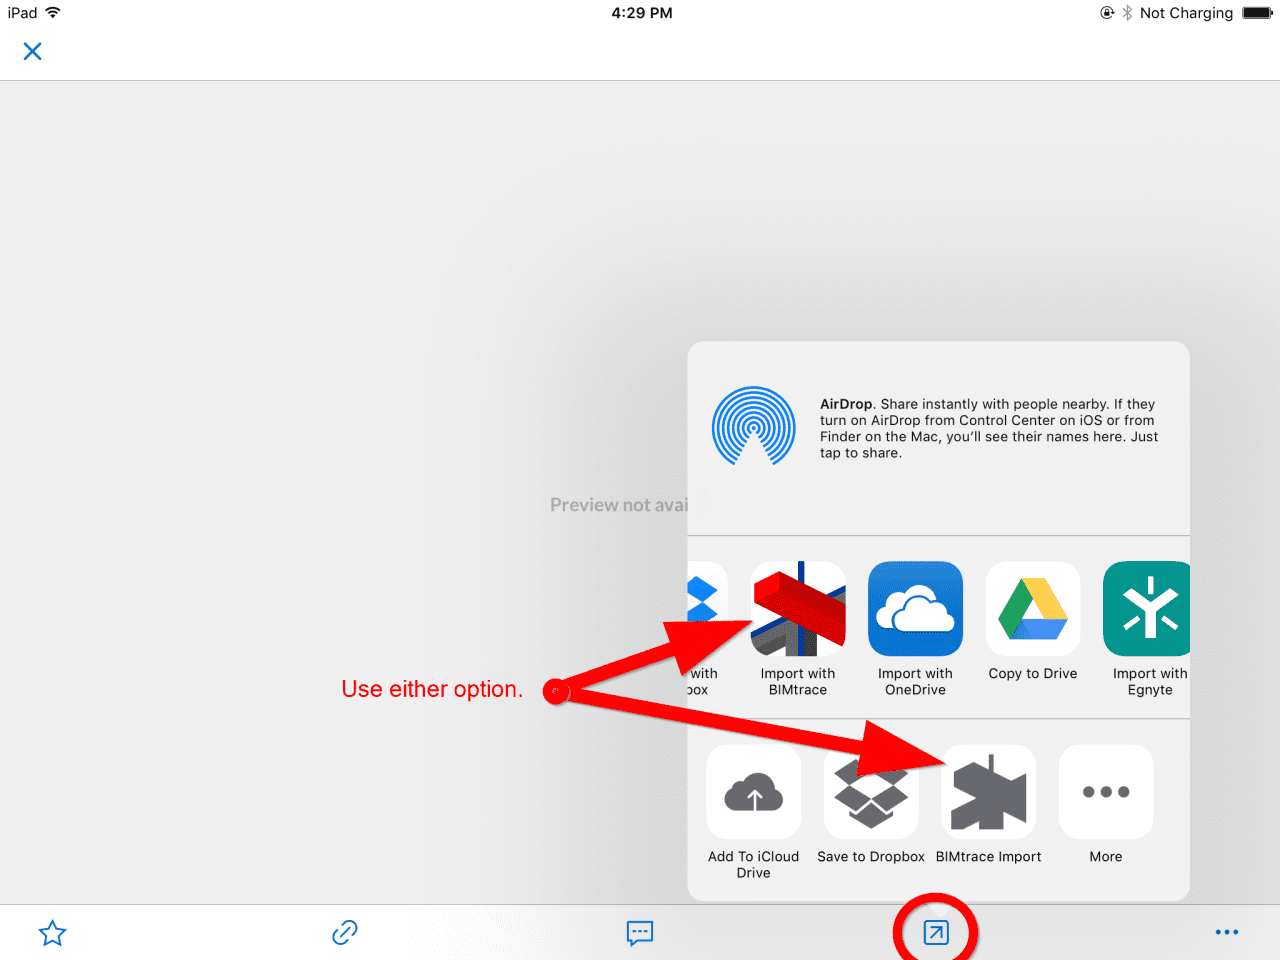
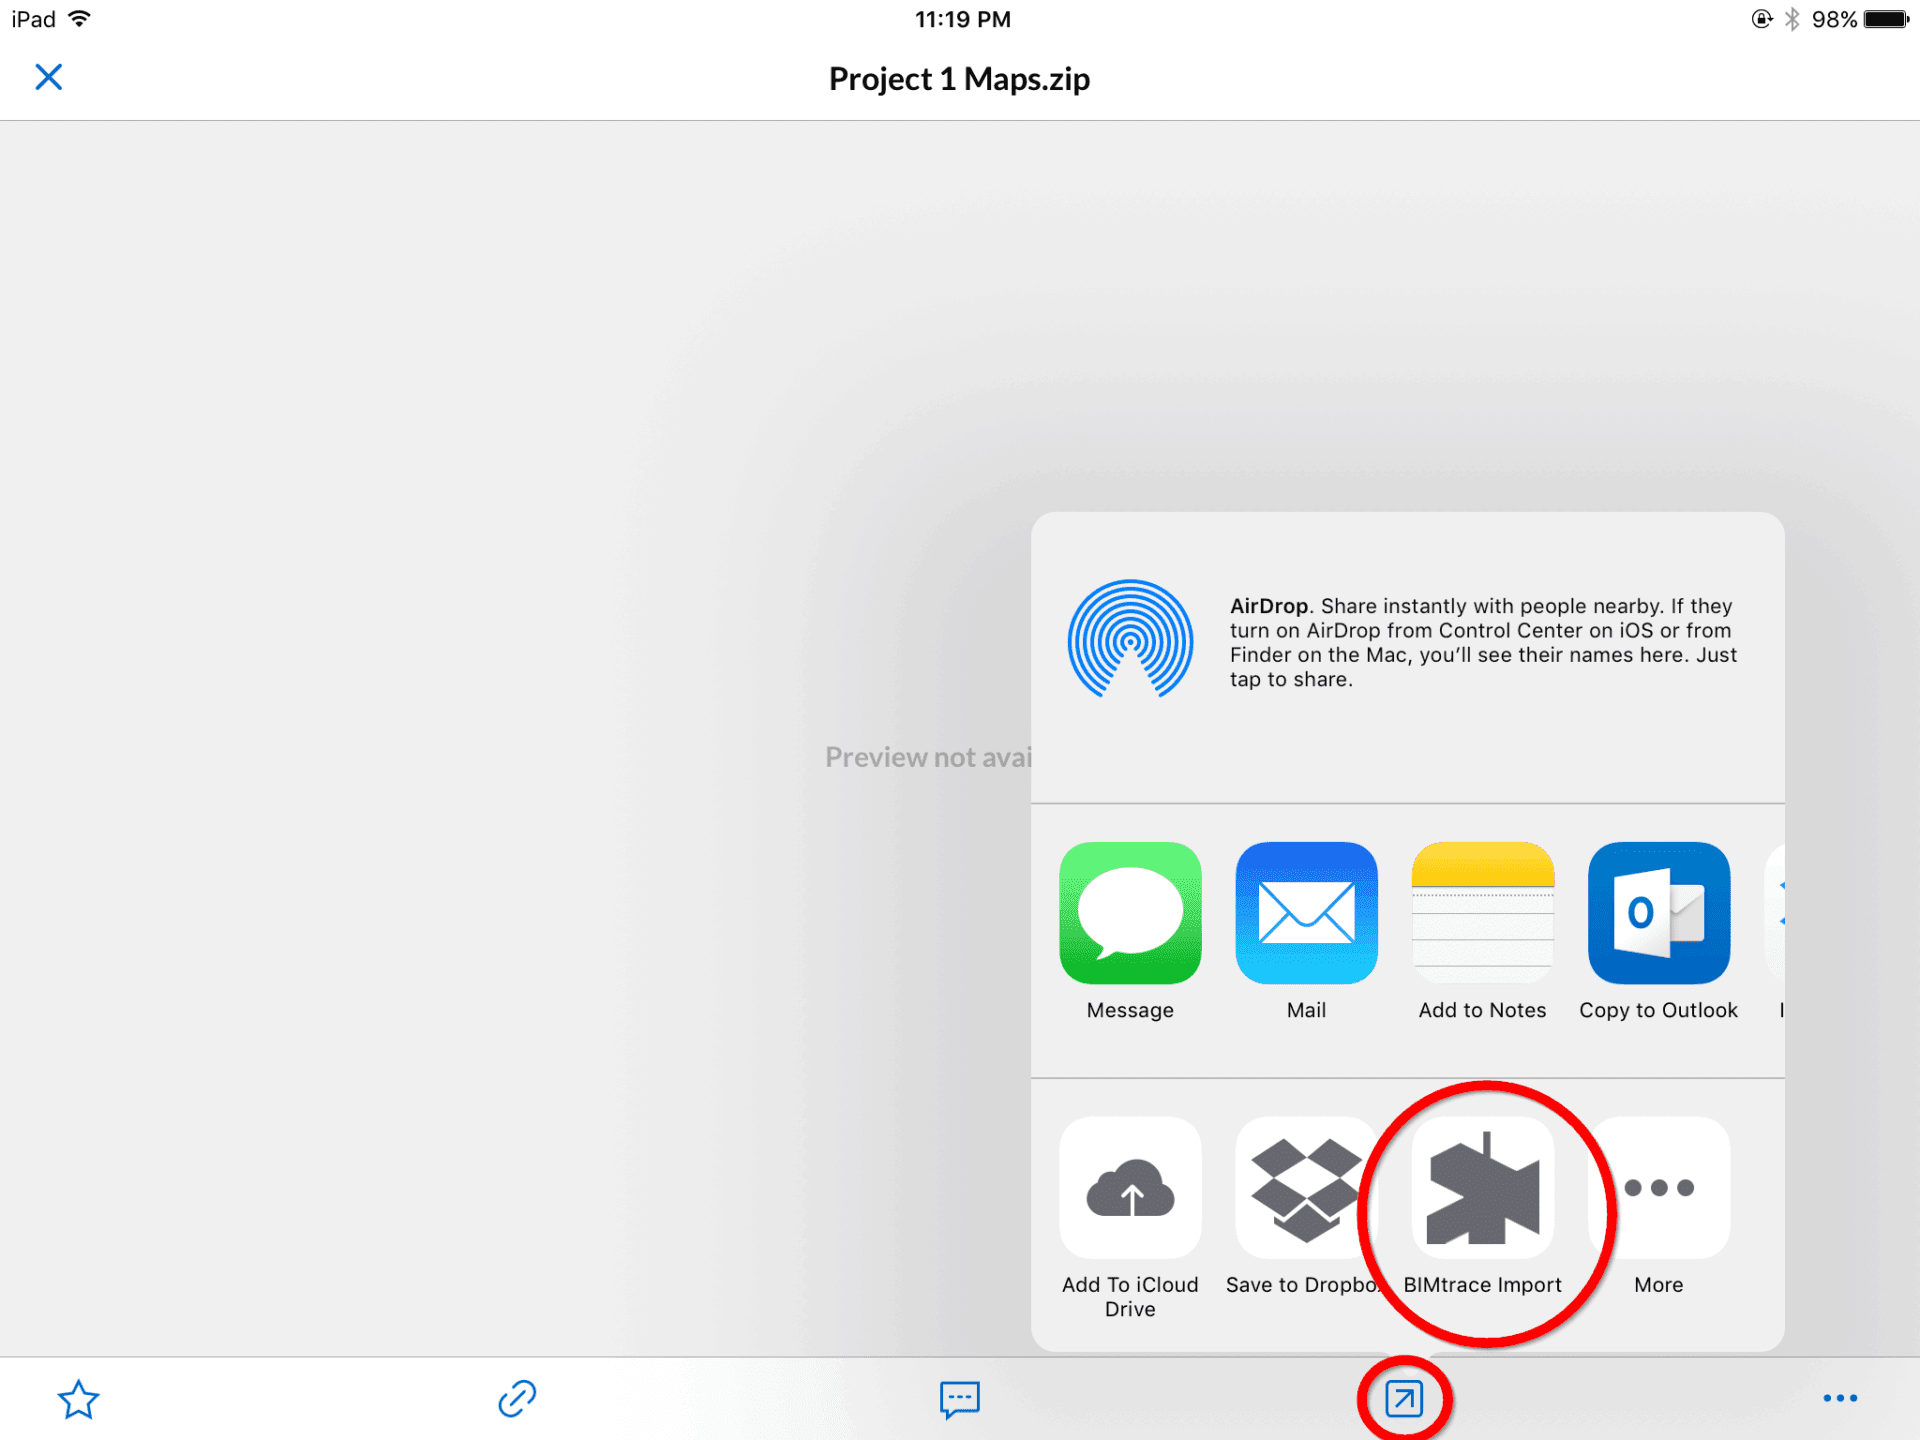
Press the “Export” or “Open With” button (circled in the above image) and choose Import with Verity Photo. Note that there are two icons which say “Import with Verity Photo” and “Verity Photo Import” … both options do the same thing, its just that some iOS apps display different options … the Box app happens to display two options here.
Next, start the Verity Photo app.
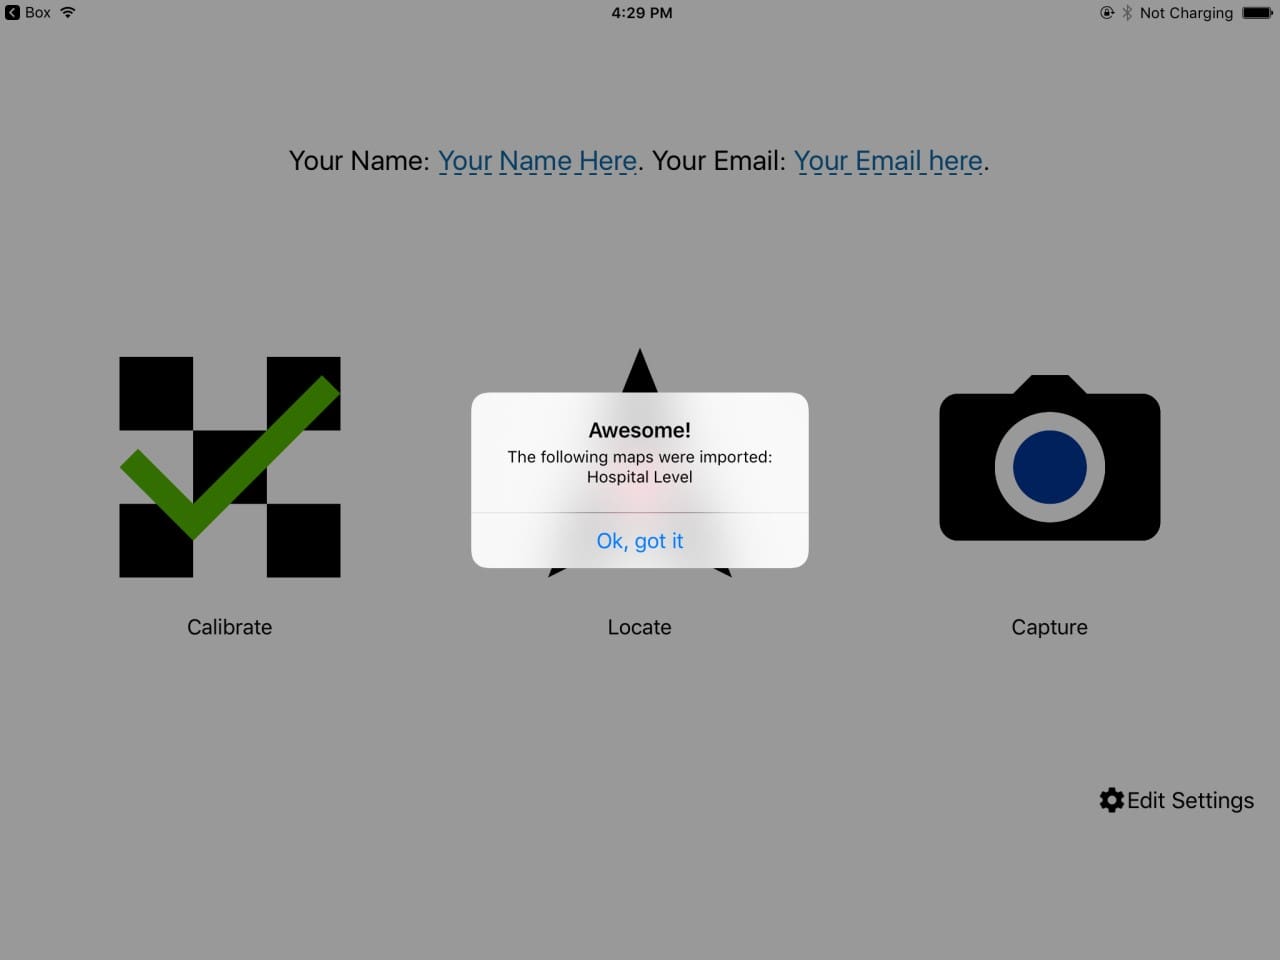
We can see the new map if we go to Locate from the Verity Photo main menu.
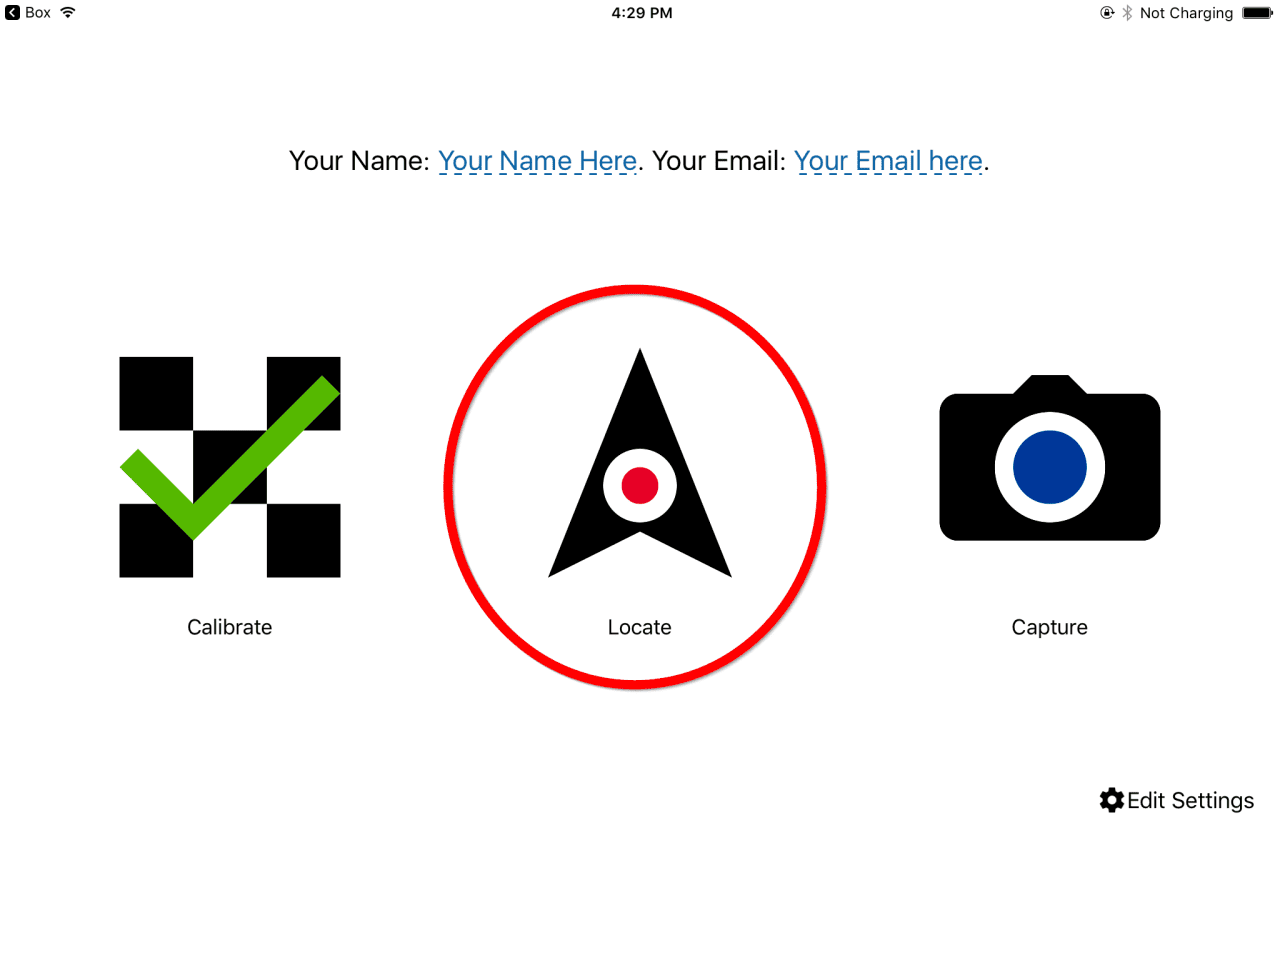
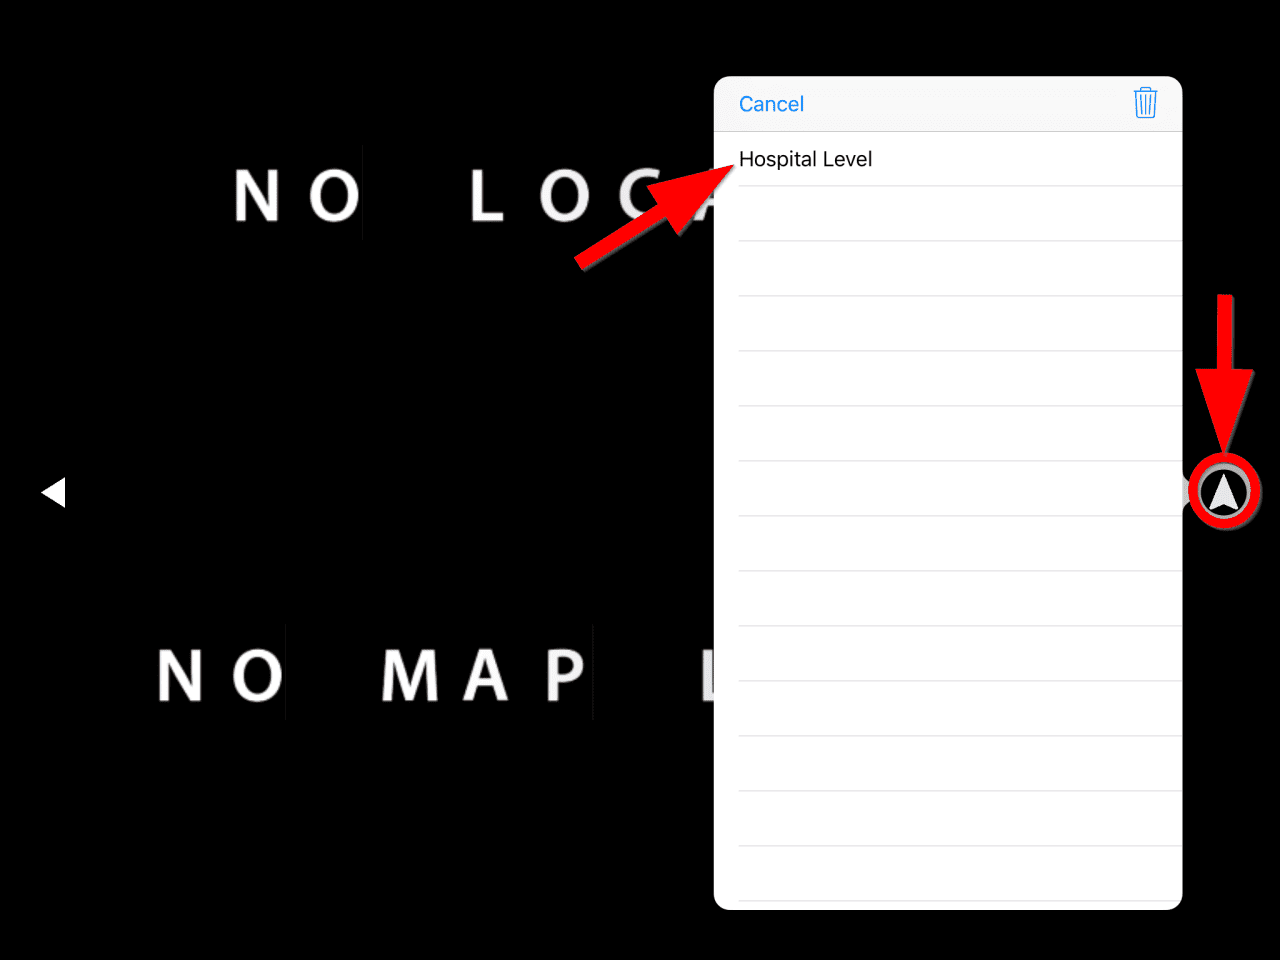
Select the Map Library button on the right side of the screen.

Importing Multiple Maps at Once (Map Packs)
Verity Photo also lets you distribute multiple maps at once as a ZIP-file. We call these ZIP files “Map Packs”. The import process is exactly the same for Map Pack ZIP files as it is for individual MAP files … only when ZIP files get imported, all the maps and directories in the ZIP file are imported at once.
Let’s work through an example.
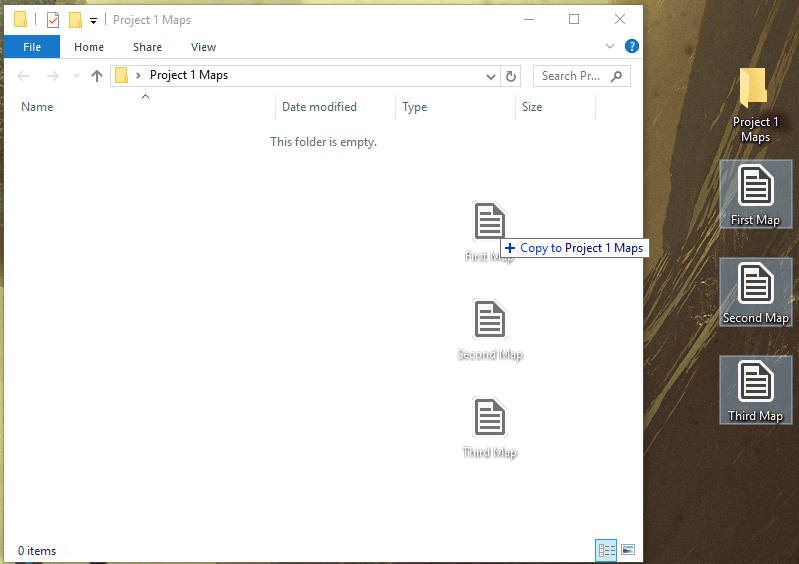
Say we have three maps (First Map.map, Second Map.map Third Map.map) and an empty folder called Project 1 Maps.
The goal is to create a Map Pack to distribute all three maps at once and have them appear in their own Project 1 folder in Verity Photo.
To begin with, we’ll copy the three MAP files into the Project 1 Maps directory in Windows Explorer.
Then in Windows explorer, right click on the Project 1 Maps folder icon, and choose Send To > Compressed (zipped) Folder.
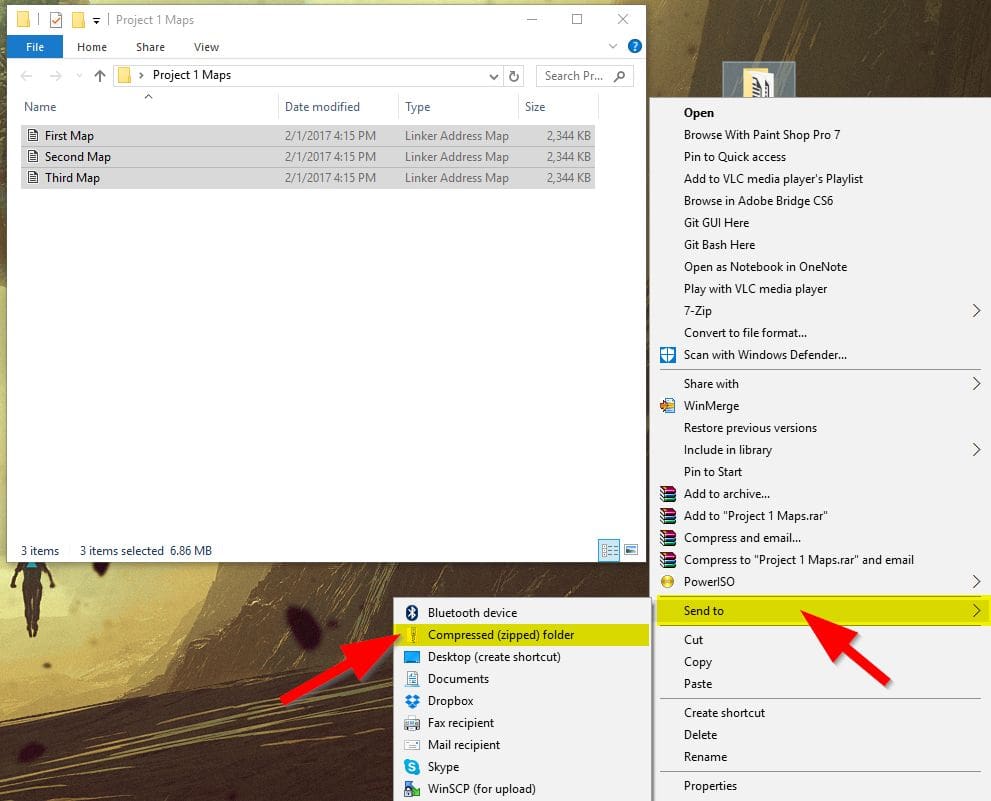
This will create a .ZIP file containing the Project 1 Maps folder (and the three MAP files inside of it)
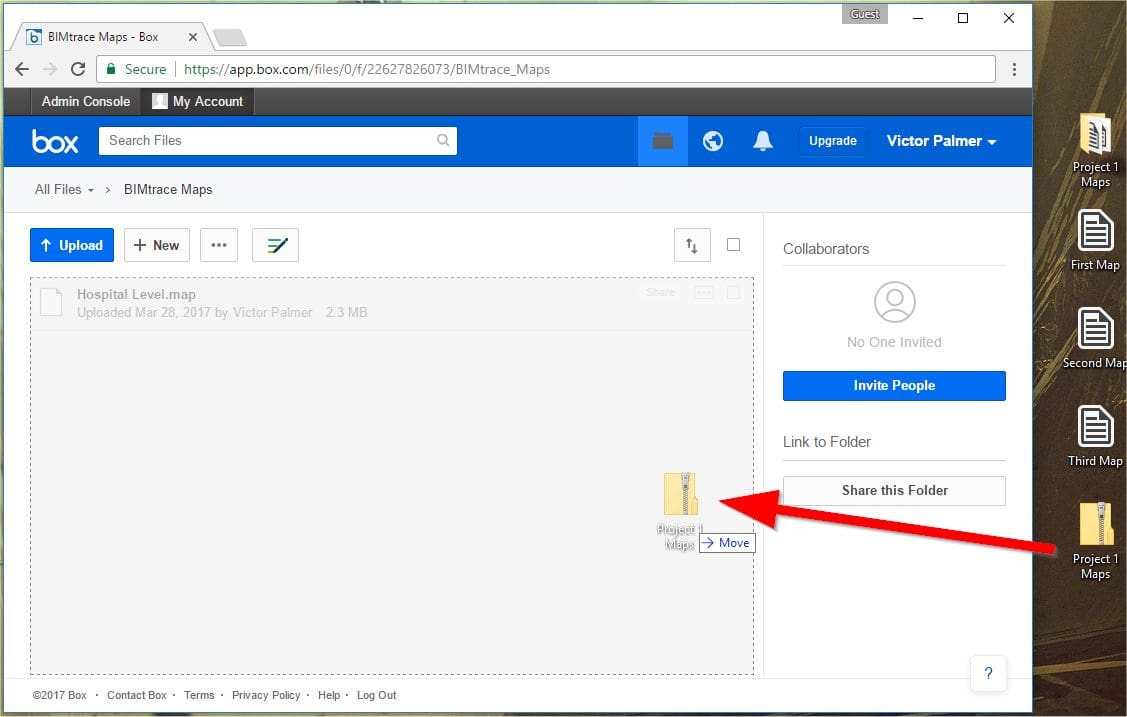
Now we’ll upload this single ZIP file to the same Box.com web drive as we did earlier in this article:
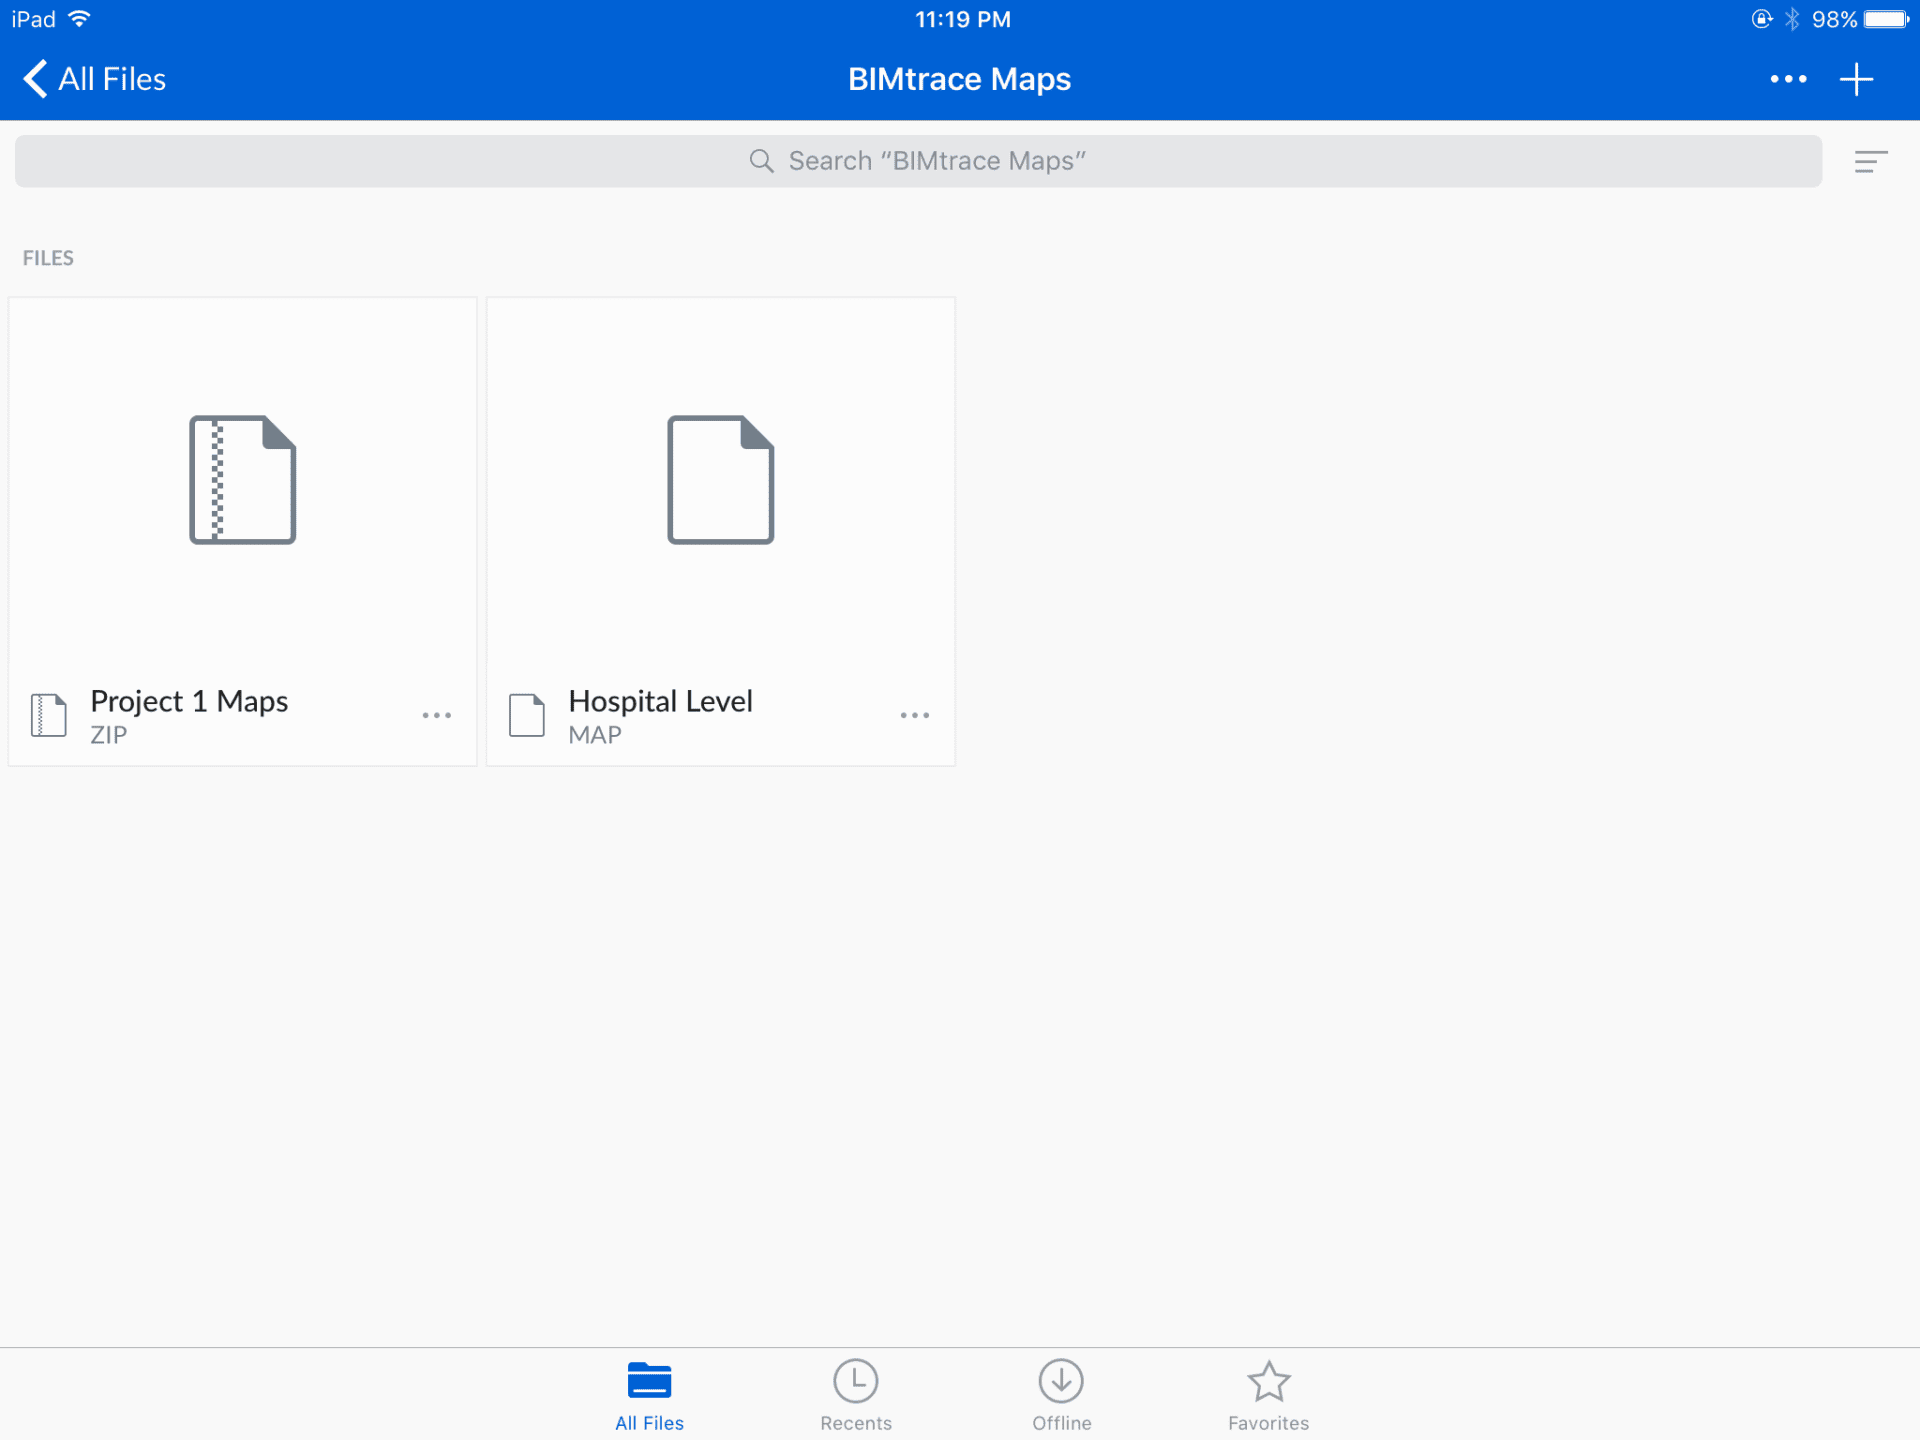
Now we can go to the iOS device and start the Box.net iOS app … and the newly uploaded Project 1 Maps ZIP Map Pack file is listed:
As before, we’ll tap the ZIP file and use the “Open With …” feature in the Box iOS app. Again, most cloud drives support “Open With” … not just the Box iOS app.
Verity Photo will import the entire ZIP file Map Pack (all three maps) …
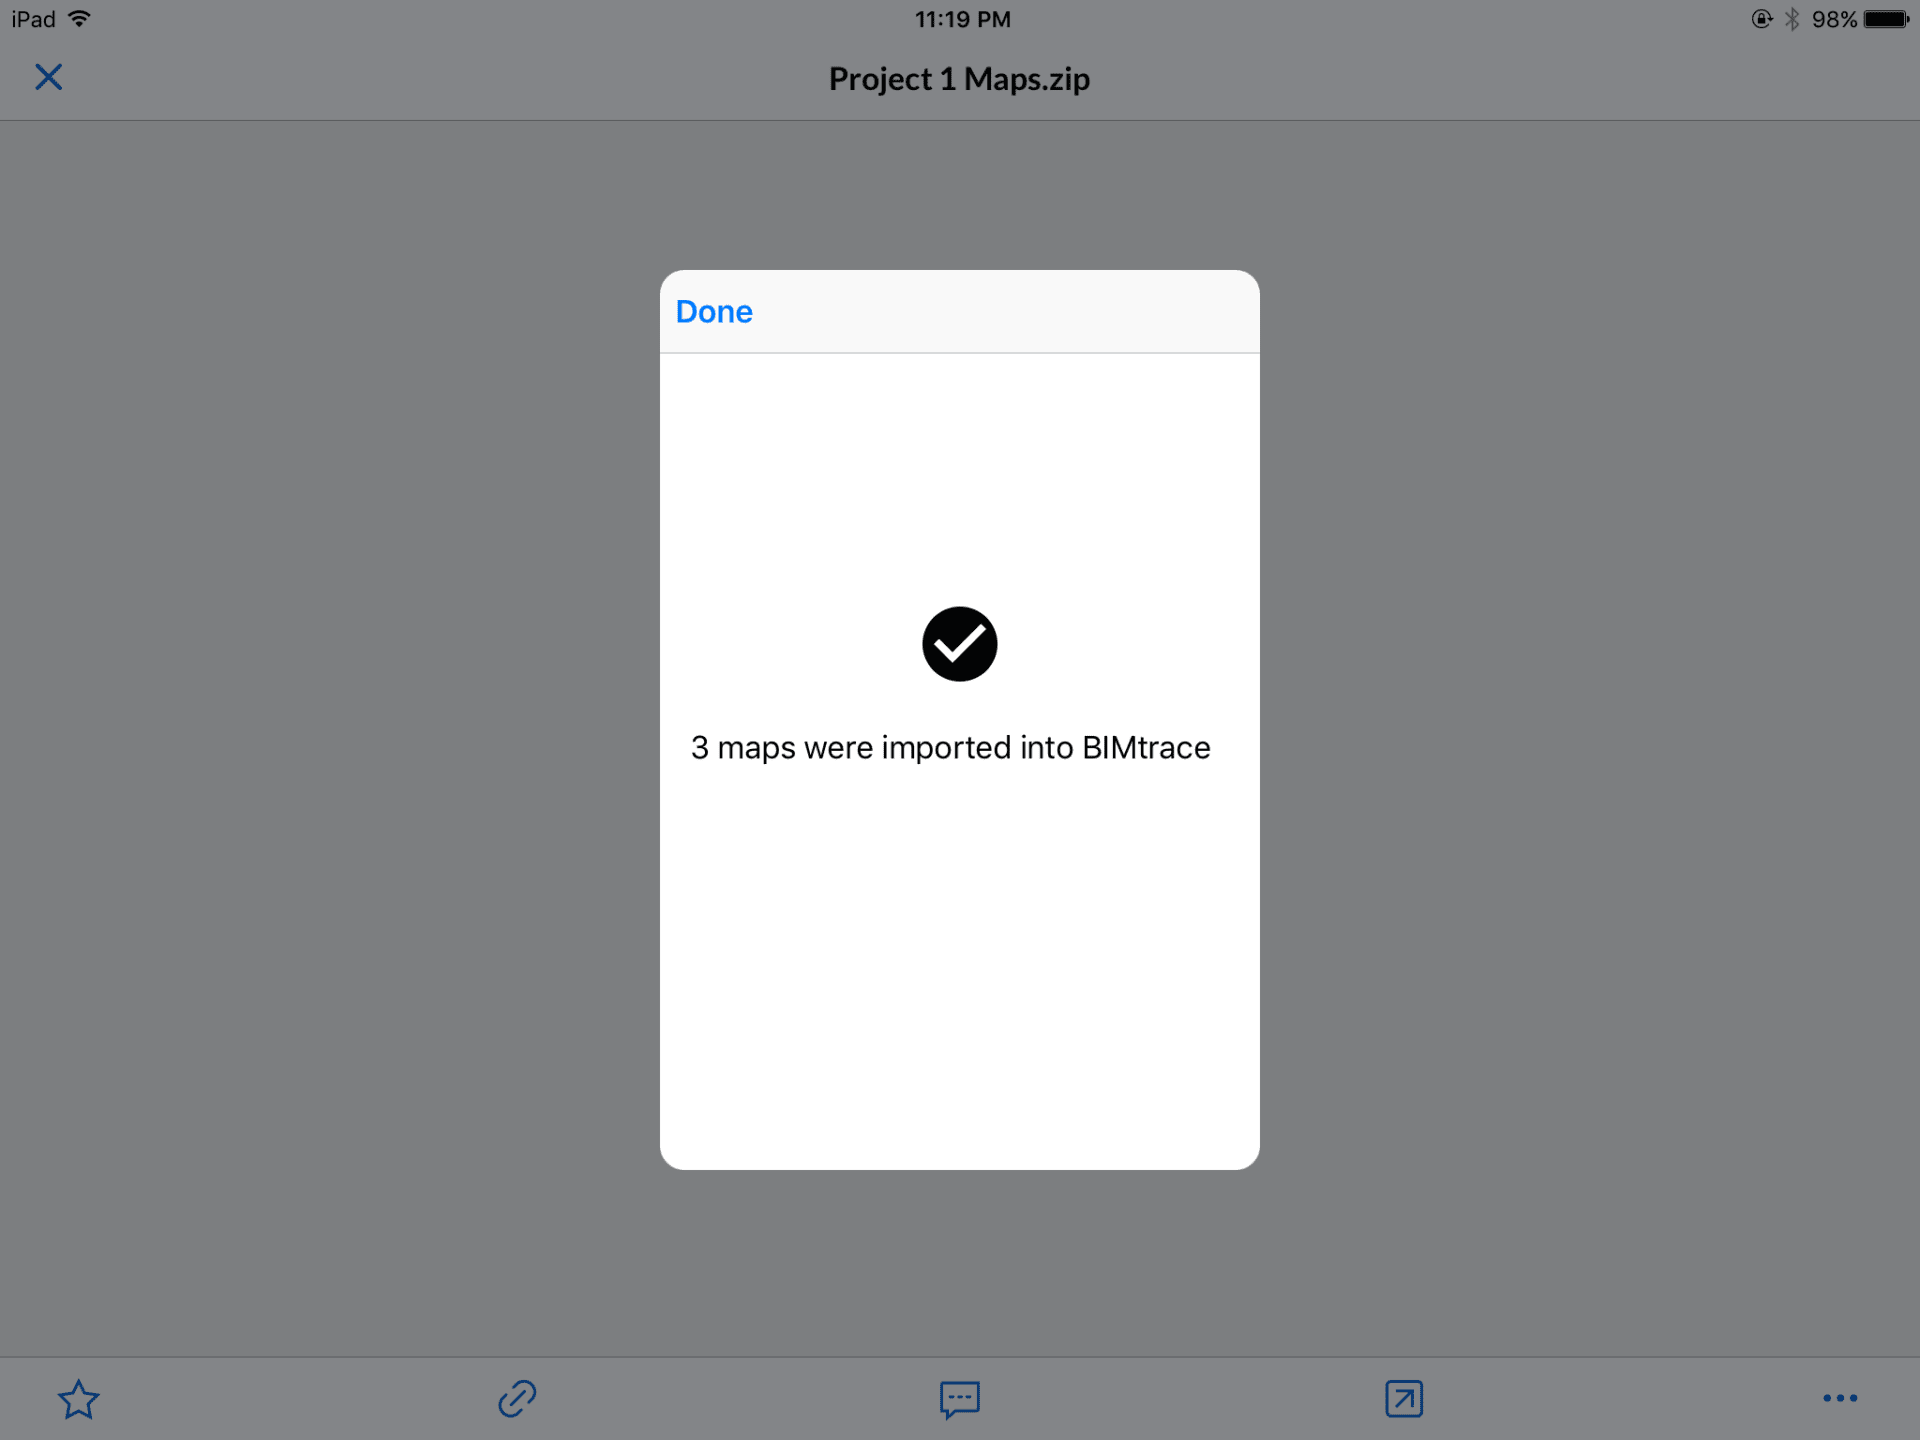
Here Verity Photo tells us that three maps were imported since there were three MAP files in the Project 1 Maps.zip file (First Map.map, Second Map.map, Third Map.map)
If we now start the Verity Photo app and browse the maps we have in our library, we see that a new folder has been created called Project 1 Maps:
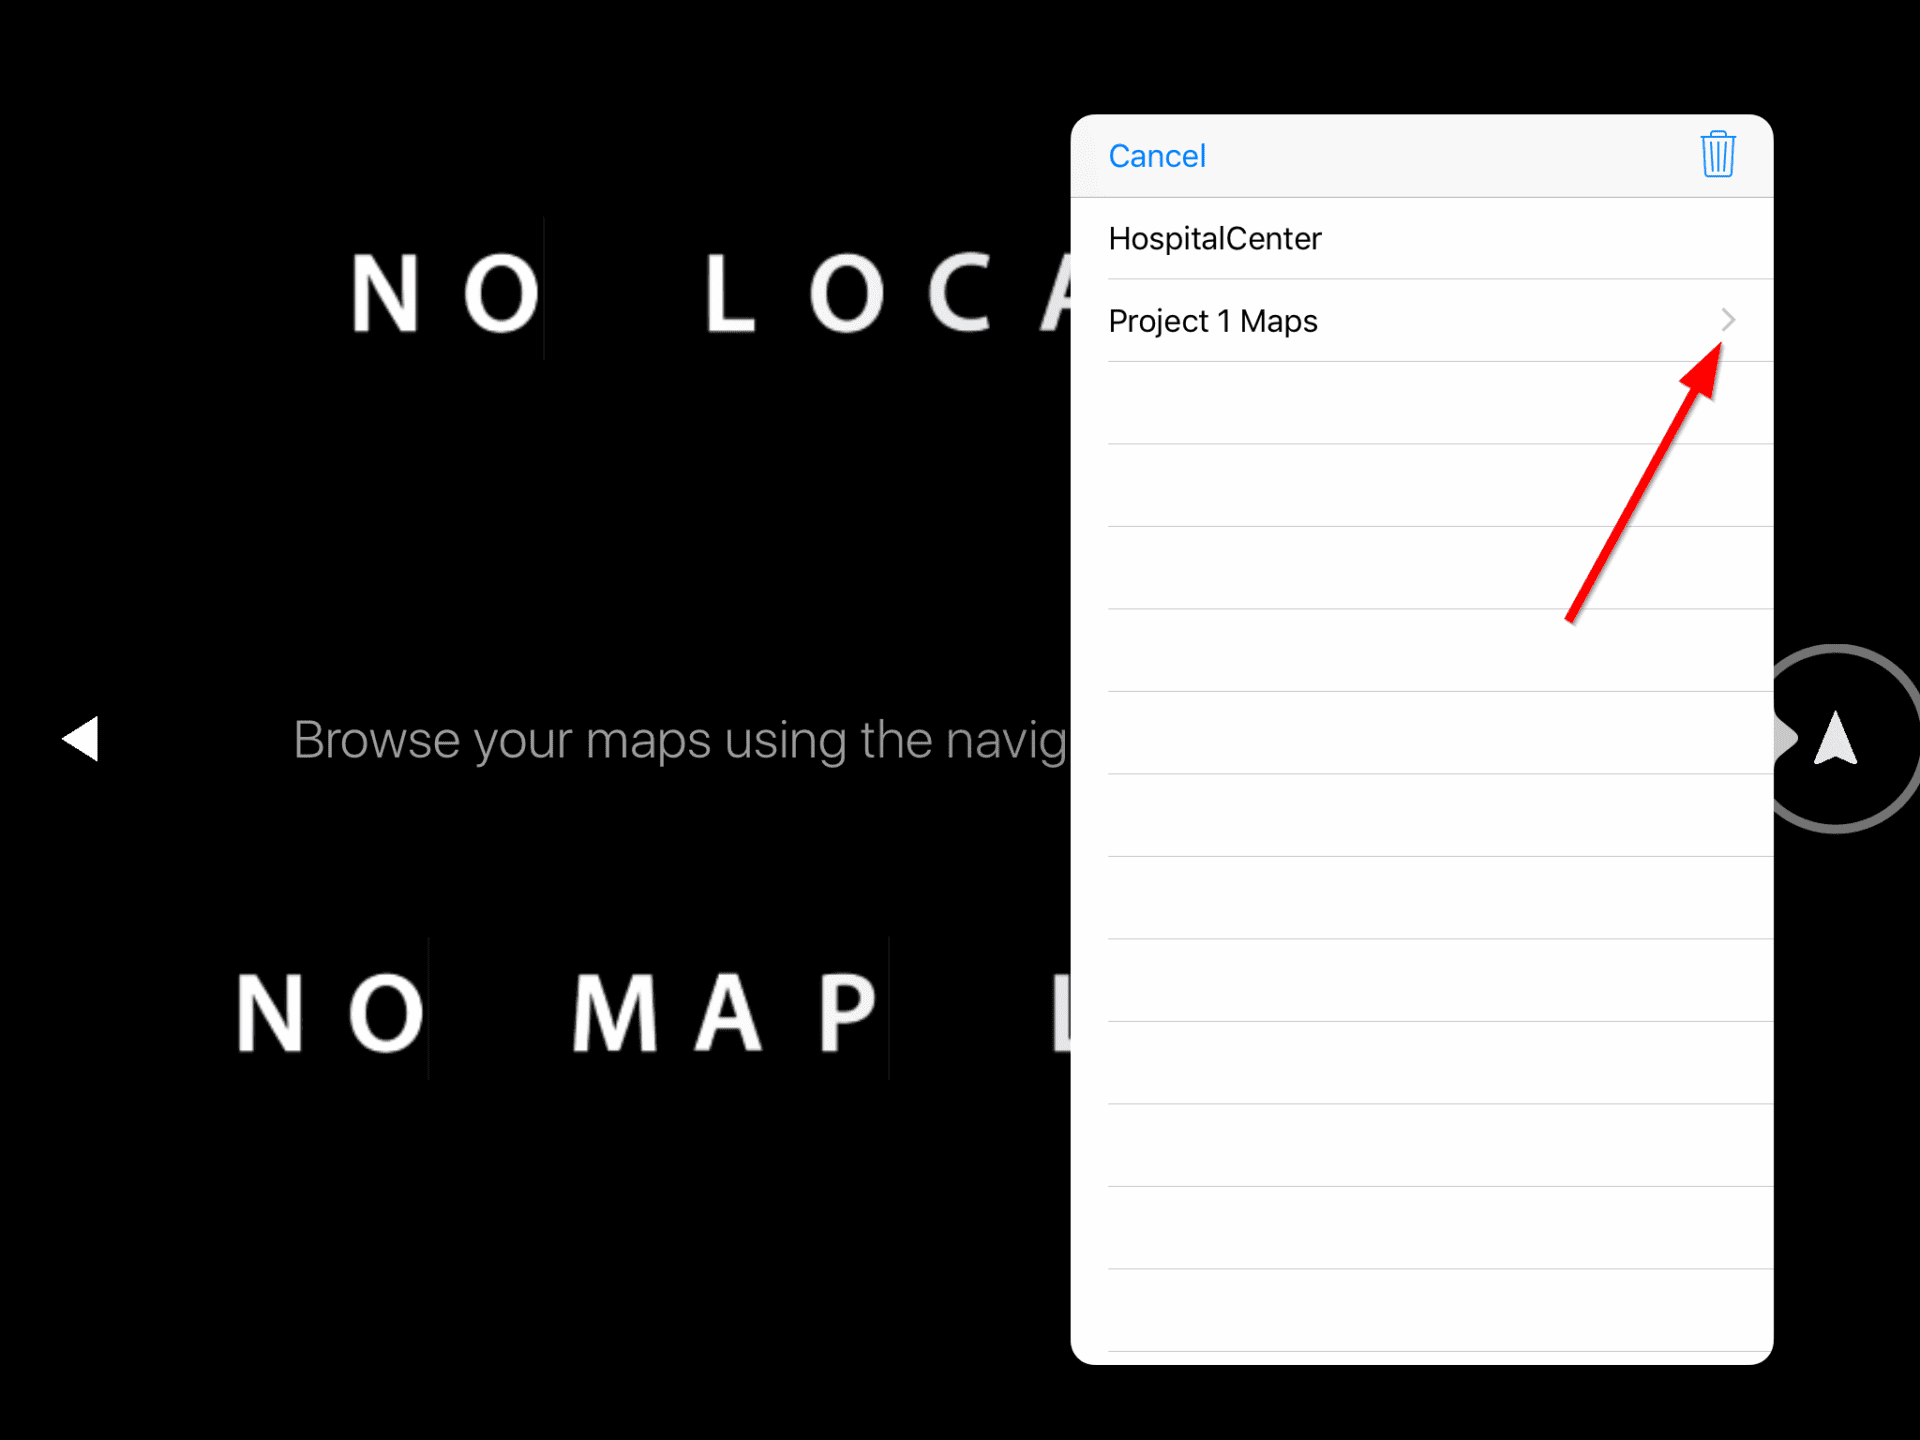
Notice the > icon next to the Project 1 Maps listing … this indicates that Project 1 Maps is a folder and contains additional maps. If you click on Project 1 Maps, Verity Photo will open this folder and list the maps inside:
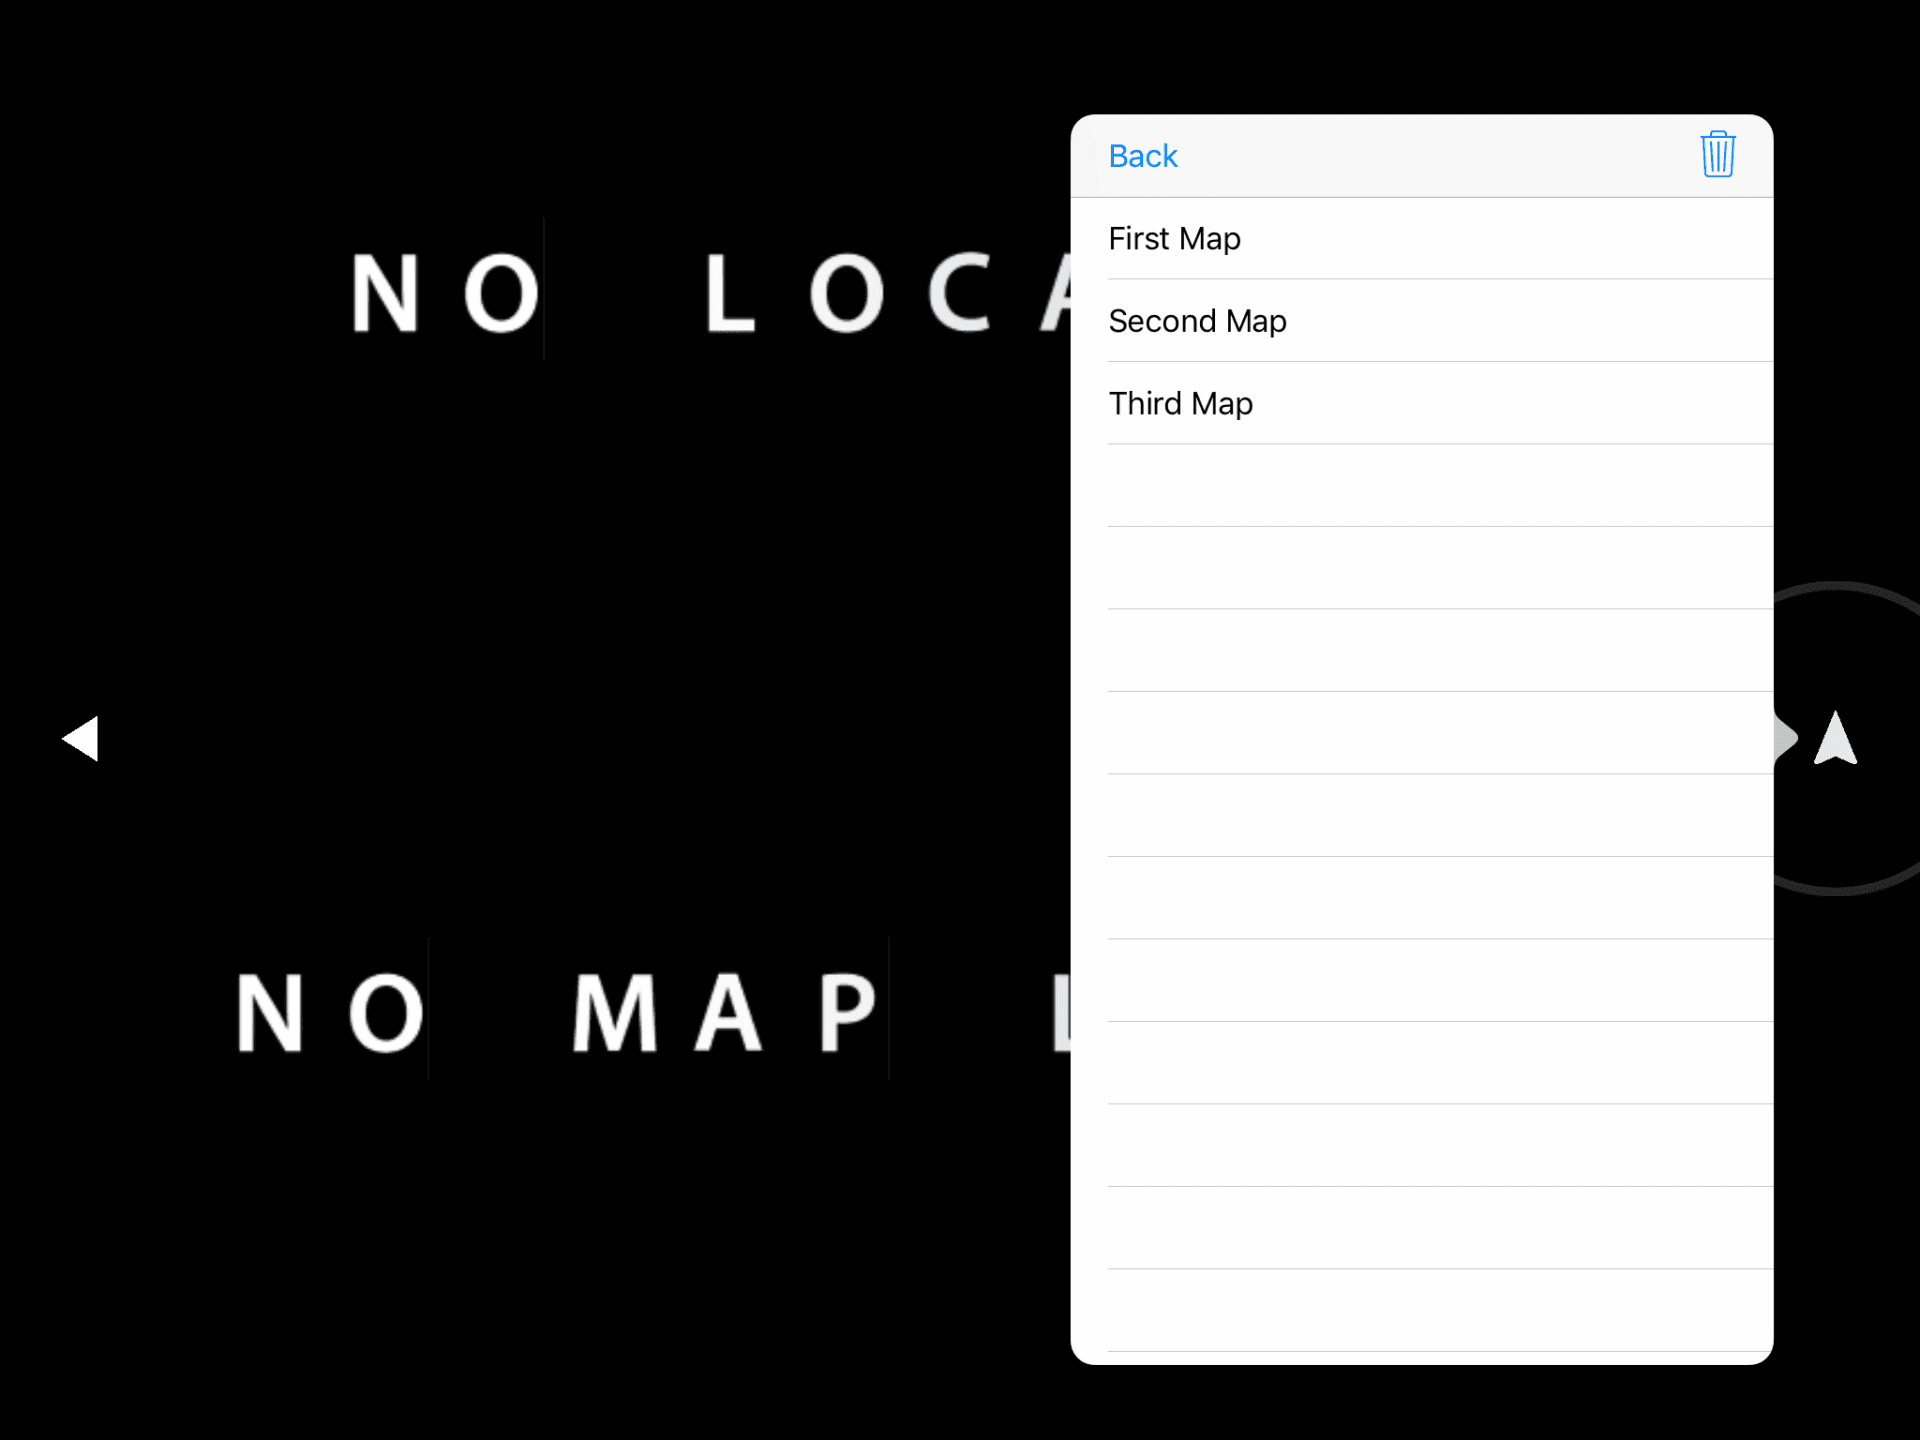
Finally, we see the original three maps we zipped up into the Project 1 Maps folder. At this point these maps can be opened and used to tag locations in Verity Photo just like any other map file.