Search Knowledge Base by Keyword
Getting Started
This article will go over how to create a Heat Map export from Rithm to various applications. Applications covered in this article will be Navisworks and Revit. To learn how to create a heatmap, visit this link.
Heat Map Export XYZ
Follow these steps if you wish to export your heatmap as an XYZ file type. XYZ is a basic point cloud file type that can be brought into Recap and saved as an RCP file.
Once you have your heatmap created, click the export button in the Builder Toolbar. An export menu will appear.
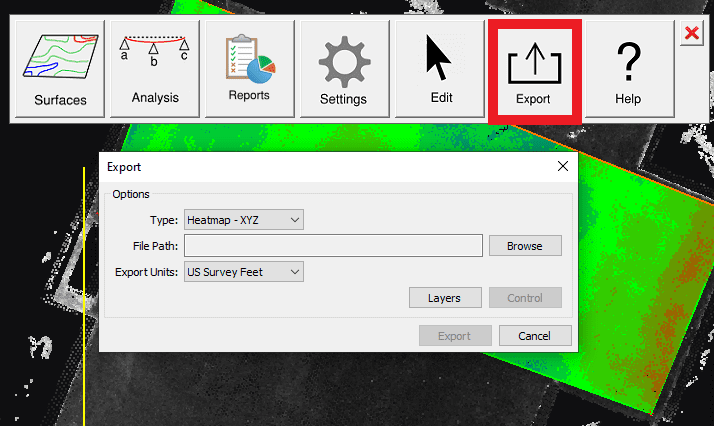
Make sure the Type is set to Heatmap-XYZ. Choose a file path for the file to be saved to by selecting the Browse button. Lastly, make sure Export Units are set to the desired units. When all options are set, click Export.
Turning Heat Map-XYZ Export into RCP
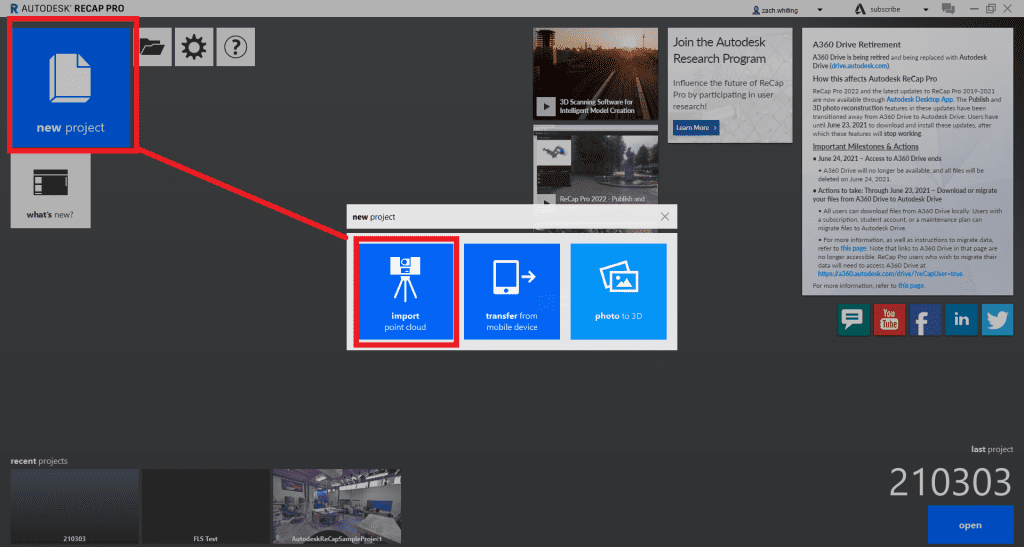
Once you have the XYZ file exported, open up Recap. Inside of Recap, click New Project and then Import point cloud.
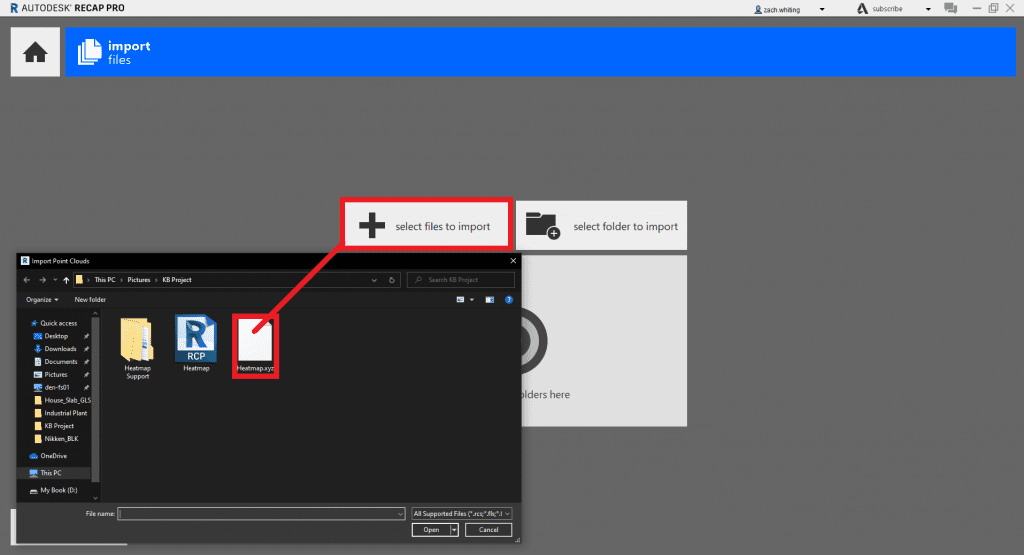
Next, name the project and choose a save location. Choose Select Files to Import and then choose the XYZ file that was exported from Rithm.
Once the selected file is selected, imported and indexed inside of Recap, you can then save the file and import the now RCP into a number of different applications.
Importing Heat Map RCP into Navisworks
Once the RCP is created, open up your Navisworks project. With the project open, click the Home tab and then Append.
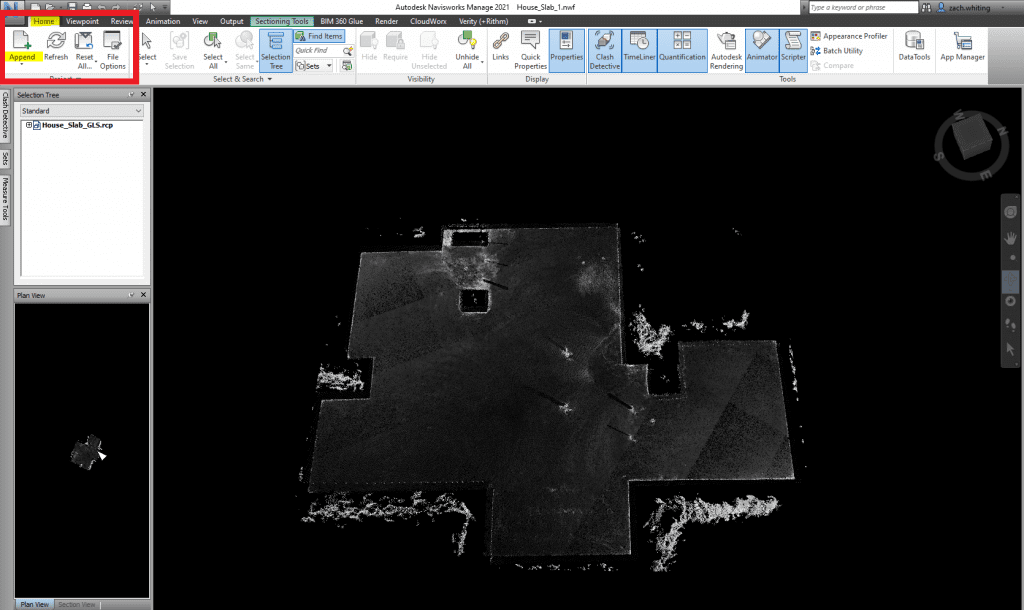
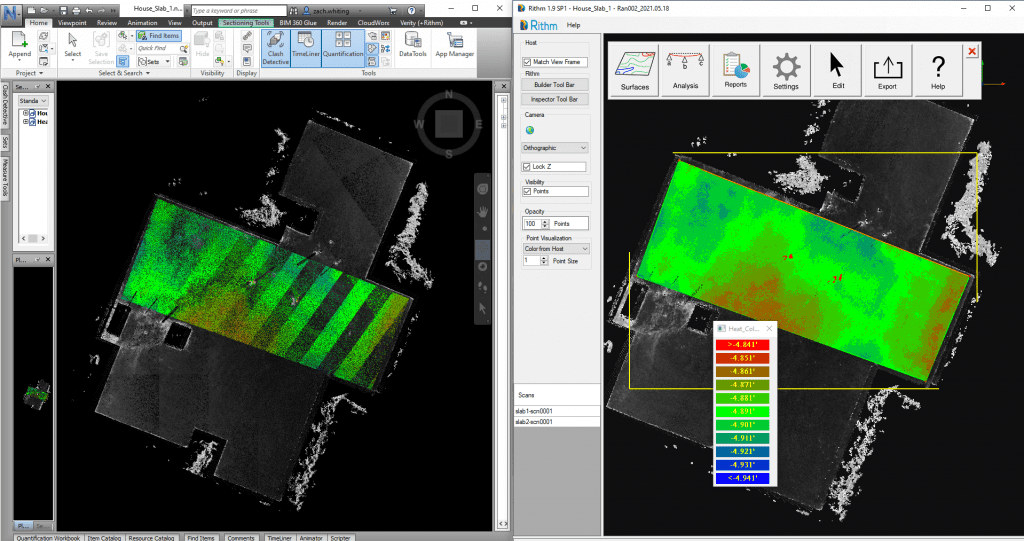
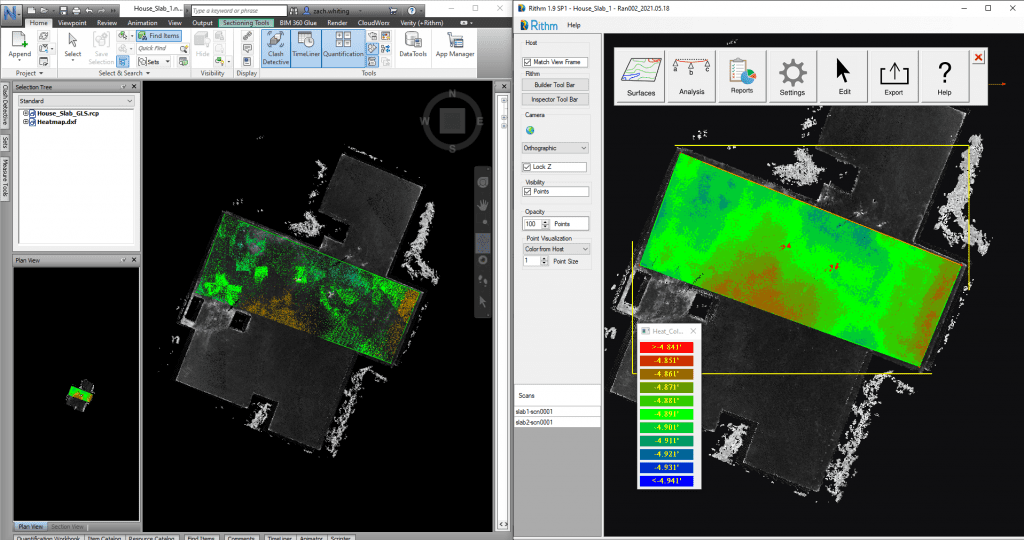
Select the RCP that was converted from XYZ. The Heatmap that was created in Rithm should now be superimposed on top of your point cloud in Navisworks.
Importing Heatmap RCP into Revit
With your Revit project open, select the Insert tab and then select Point Cloud.

A File Explorer should open. Select the RCP of your Heatmap, but also make sure to specify the proper positioning with the positioning drop down menu. Next, select the RCP file and click Open.

Heat Map DXF Export
Once you have your heatmap created, click the Export button in the Builder Toolbar. An export menu will appear.
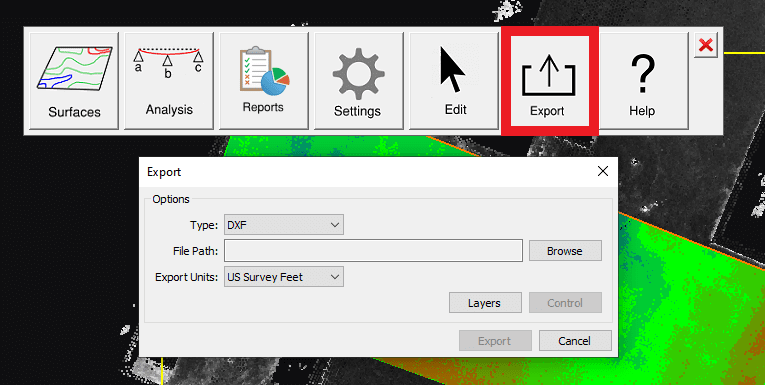
Make sure the Type is set to DXF. Choose a file path for the file to be saved to by selecting the Browse button. Lastly, make sure Export Units are set to the desired units. When all options are set, click Export.
Importing Heat Map DXF to Navisworks
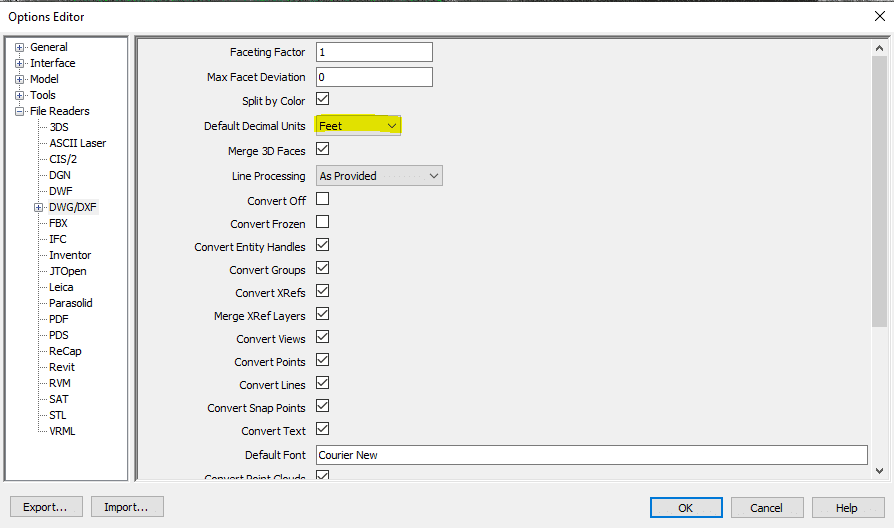
Once the DXF is created, open up your Navisworks project. Make sure the DXF file reader options match the expected units for the DXF that was exported from Rithm.
With the project open, click the Home tab and then Append. Select the DXF file that was exported from Rithm.

The DXF that exported from Rithm should now be superimposed on top of your point cloud in Navisworks.
Importing Heat Map DXF to Revit
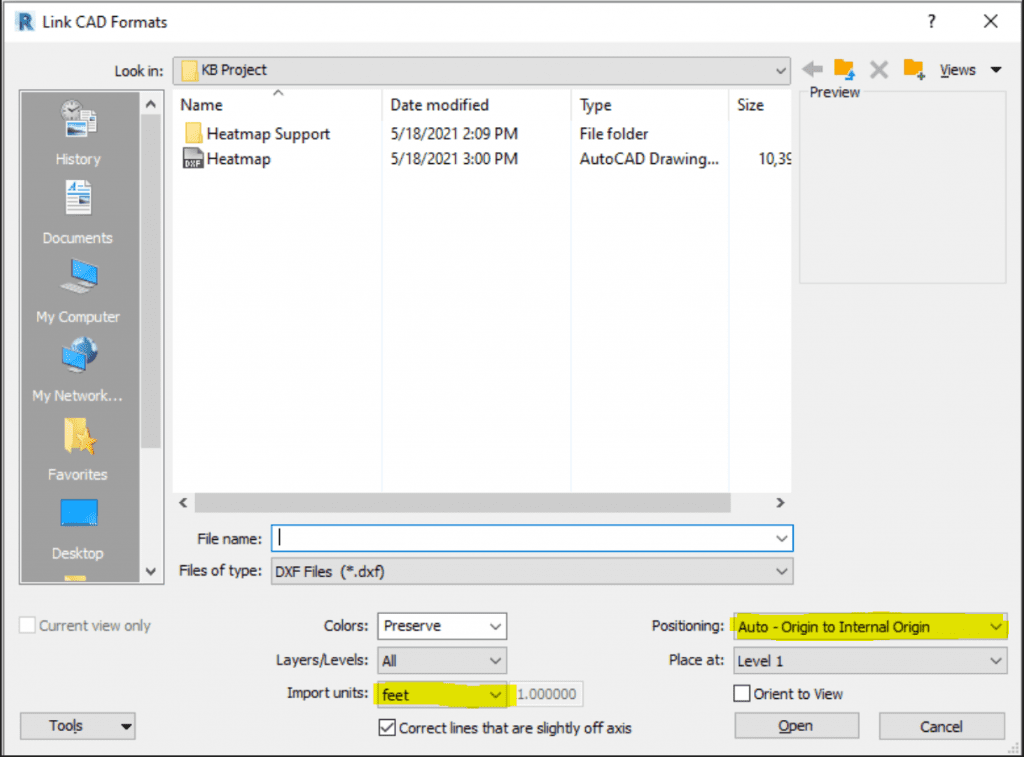
With your Revit project open, Select the Insert tab, then Link CAD.

A File Explorer should appear. Make sure that the import units match the expected units for the DXF that was exported from Rithm. Also, make sure to specify the proper positioning with the positioning drop down menu. Select the DXF and click Open.