Search Knowledge Base by Keyword
Getting Started
This article will cover preparing your project for Rithm. Rithm acts as a plugin to Navisworks Manage and Simulate. Due to this, preparing your project for Rithm is going to require a few steps within Navisworks itself.
Supported File Types
Rithm supports any Autodesk Recap project file type: RCS or RCP. Rithm can also work with both unified data and non-unified data. If your data is not currently in this data format, create a RCP file within Recap. The RCP/RCS files need to be appended to the Navisworks project before you begin your workflow.
Create a Section Box in NavisWorks
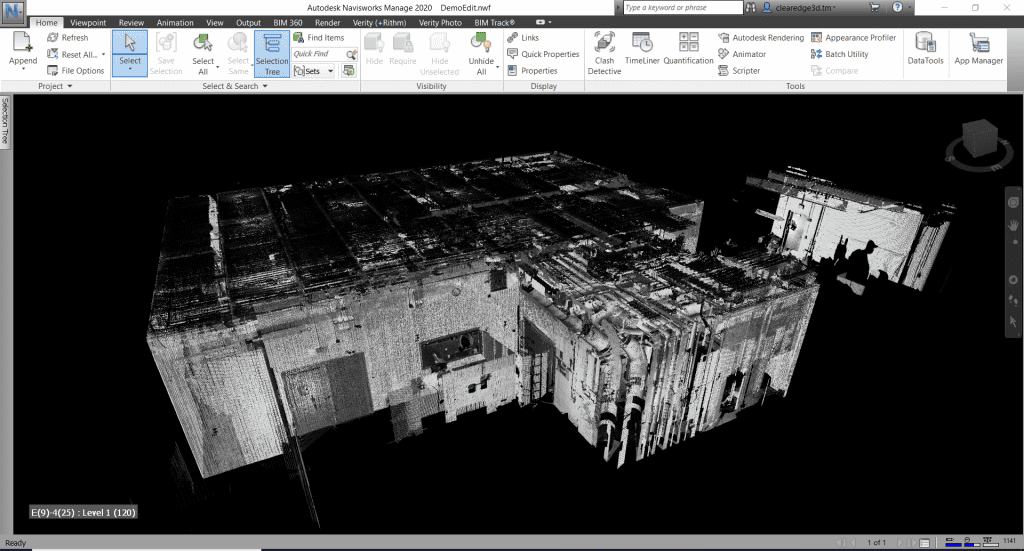
Once the point cloud data is appended into Navisworks, you will then need to apply a section box to isolate your floor or wall for Rithm.
To create a section box, navigate to the ViewPoint tab in Navisworks and select Enable Sectioning.
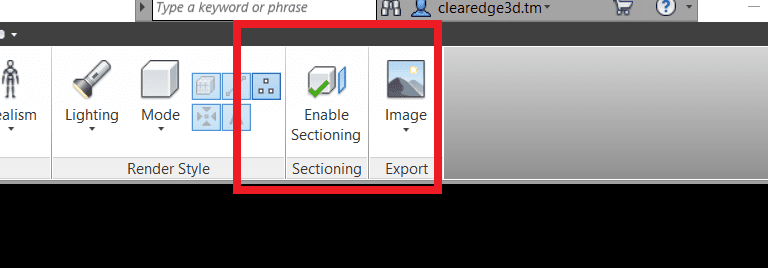
After selecting Enable Sectioning, the following tab will appear with the section box controls.
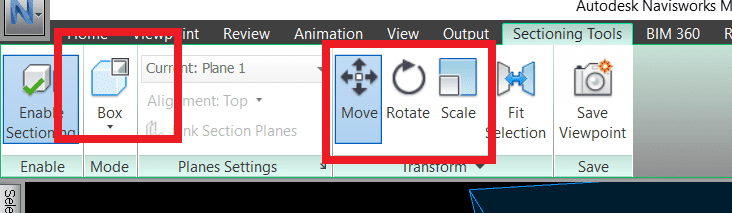
Change the mode to Box. This can be done by using the drop-down option on the left. You can then modify the sectioning box by clicking and dragging the arrows in the 3D view.
Use the three commands to manipulate the section box.
- Move: Slides the box in 3D space.
- Rotate: Spins the box around its center point.
- Scale: Makes the box larger or smaller in the desired direction.
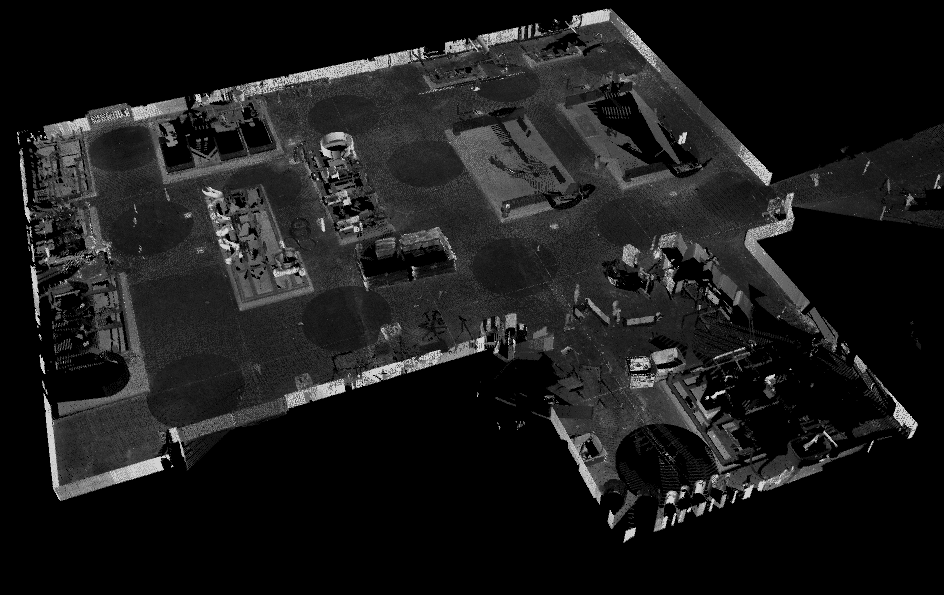
After you complete your editing of the section box, your point cloud should be clipped out so just the floor points (or wall points) are visible.
Before moving on, save your project in Navisworks. Now, you can click Analyze in Rithm in the Verity(+Rithm) tab. Rithm will open and begin to analyze and import your scan data.
