Search Knowledge Base by Keyword
Getting Started
This article will cover best practices and tips for duct extraction and alignment using EdgeWise. Refer to the Ducting Quick Start guide for the full workflow. If EdgeWise is still struggling to perform duct extraction and alignment in your project, then refer to the tips below.
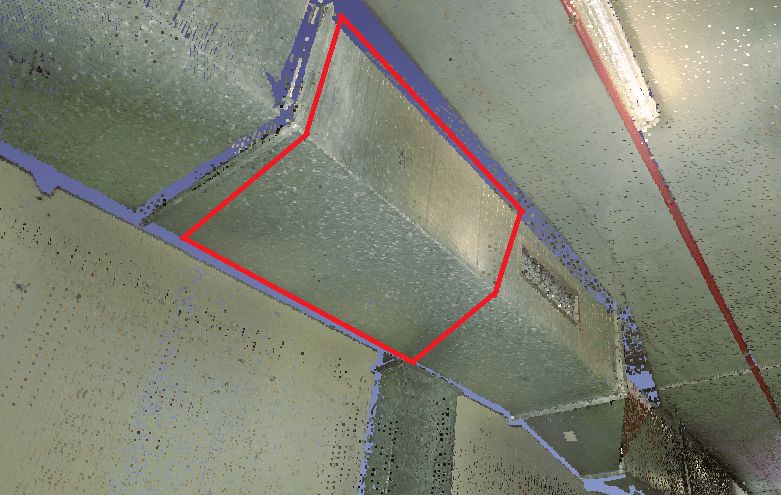
Two Sides
Perform the initial duct extraction in an area with good point cloud coverage. Try drawing the extraction box to capture two sides of the Duct, preferably the depth and width.
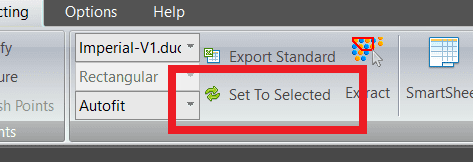
Set To Selected
Use the Set To Selected tool after selecting an already extracted duct to set the size of the extraction tool. This tool will make the next extraction match the size of the currently selected element, instead of picking a size from the catalogue. To revert this change, use the A hotkey to set the size back to Autofit.
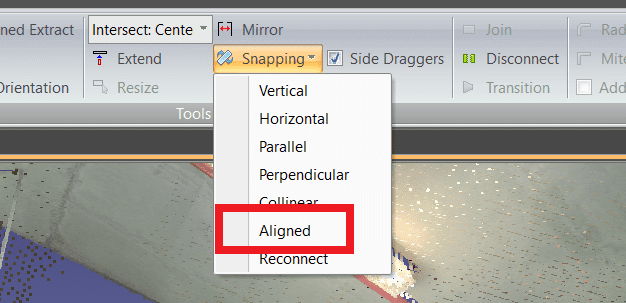
Alignment
After extracting multiple ducts, select all the ducts in a run and use the Snapping: Aligned tool. This tool will rotate the ducts on the center line so the corners will match up, making the connections come in seamlessly.
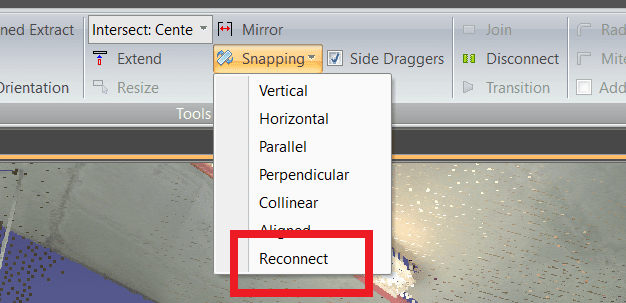
Reconnect
If a duct becomes disconnected from the chain while editing, the Snapping: Reconnect tool allows for the duct to be attached back on. Simply select the ducts that you would like to reconnect, then click the Snapping dropdown, and click Reconnect. Use the tab key to see all the ducts in the connected chain.