Search Knowledge Base by Keyword
Getting Started
This article covers how to create your own custom layer using the Layer Editor. This layer information is used in the chain info smartsheet within the piping module. To access the editor, go to the File tab and click on Pipe Layer Editor.
What is a Custom Pipe Layer?
To talk about this functionality first requires explanation of Layers. If you have a piping model open, navigate to the Piping tab in the ribbon. From here click the Smartsheet drop down menu and select Chain Info Smartsheet (I). If you look in this smartsheet you’ll see a Layer column. If you select inside of this text box for any pipe, you can type in a custom layer name for this pipe chain. However, did you know that you can change these type-in boxes to drop down menus? This is where custom pipe layers comes into play.
Create a Pipe Layer
Let’s go back to the Pipe Layer Editor first and create our custom pipe layer. You should see something like this:
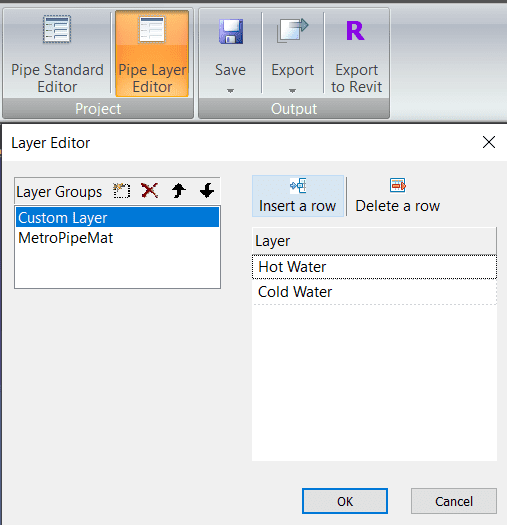
On the left you will see Layer Groups. These are the different layers that you can choose from when you change the layer info in the smartsheet to a drop down mode. On the right are the different layers that you can assign to different pipe chains.
To begin creating your own layer group, click the button directly to the right of the Layer Groups. Feel free to rename at this point.
Next click the Insert a Row button to create a new layer name. Clicking inside the text will allow you to rename it. Of course you can use the X button to delete a Layer group. You can also click the Delete a Row button to delete a specific layer name you’ve made. Click OK to finalize your changes.
Next, go back to your Chain Info Smartsheet (I) in the piping tab.
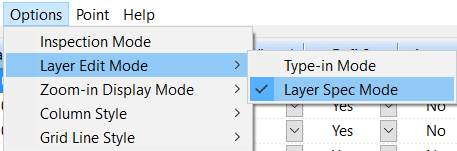
In the menu at the top of the smartsheet click Options > Layer Edit Mode > Layer Spec Mode. A Select Layer Category Box dialogue will appear.
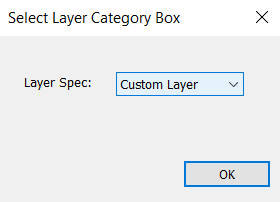
Select your Custom Layer Group you’ve made from within the drop down menu.
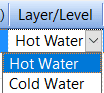
Now when you go to change Layer information, you’ll see it is now a drop down menu instead of a text box.
Known Issues: Having a selection inside of the Chain Info Smartsheet and then clicking a drop down menu will causes EdgeWise to silently crash. If you decide to use the Layer Spec Drop Down mode, be careful how you select within the smartsheet. Also make sure to SAVE OFTEN.